In short
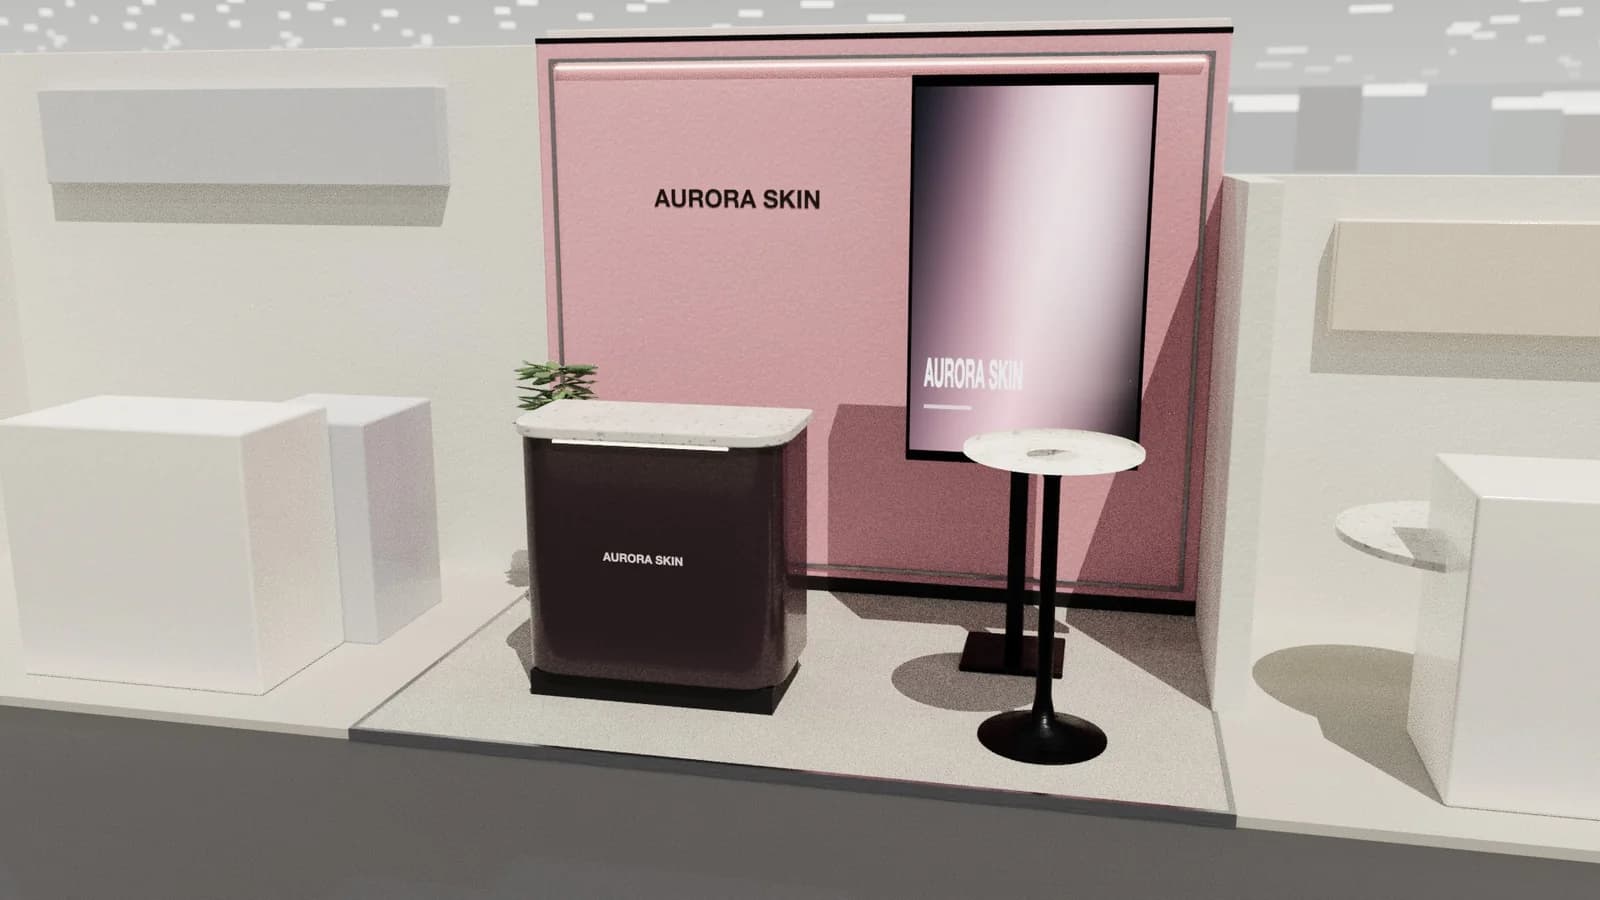
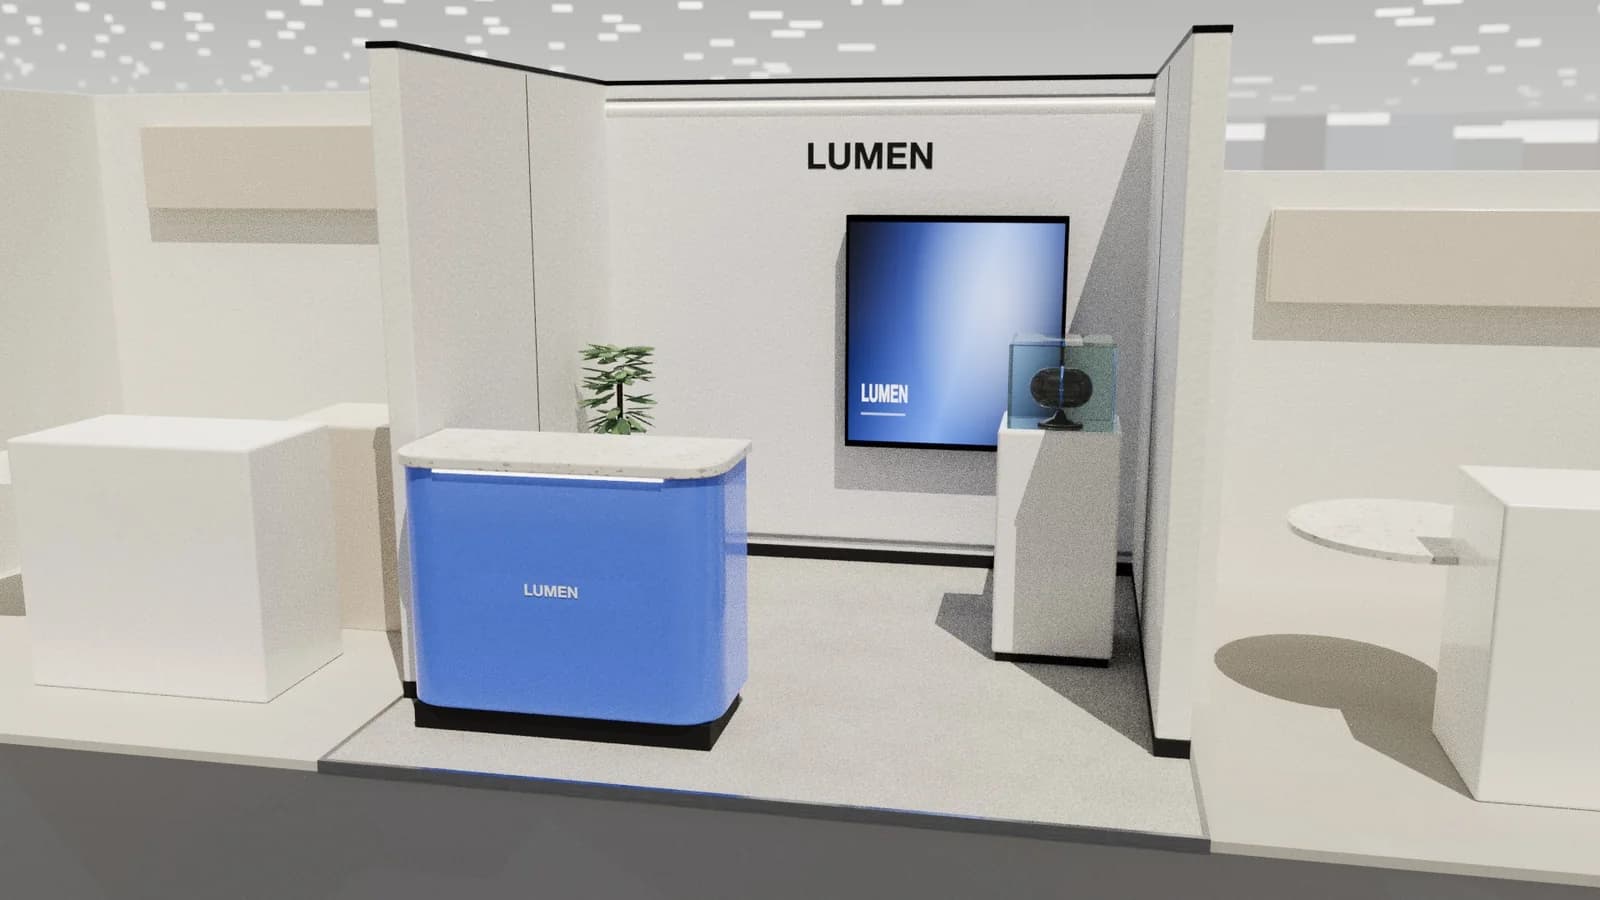
A row stand has one open side, with neighbours on both sides, so everything has to work from the aisle. Put your main message on the back wall, keep the entrance clear, use a shallow counter at one side and have one strong product or demo. Side walls can carry shelves or graphics. Because people pass quickly, you have seconds to explain yourself, so one bold idea beats a wall of detail.
Key points
- Everything is seen from one direction.
- A counter across the front is a barrier.
- Side walls are useful display space.
- One bold idea beats a wall of detail.
A simple layout
| Zone | Where | Note |
|---|---|---|
| Back wall | Full width | Logo above head height, one line |
| Counter | To one side | Keep it shallow |
| Demo or product | Other side, or the back wall | Visible from the aisle |
| Side walls | Left and right | Shelves or a graphic |
| Entrance | The whole front | Keep at least half of it clear |
Standing out in a row
- Use a contrasting colour from your neighbours, if you know theirs.
- Add light. A glowing wall stands out in a line of dull ones.
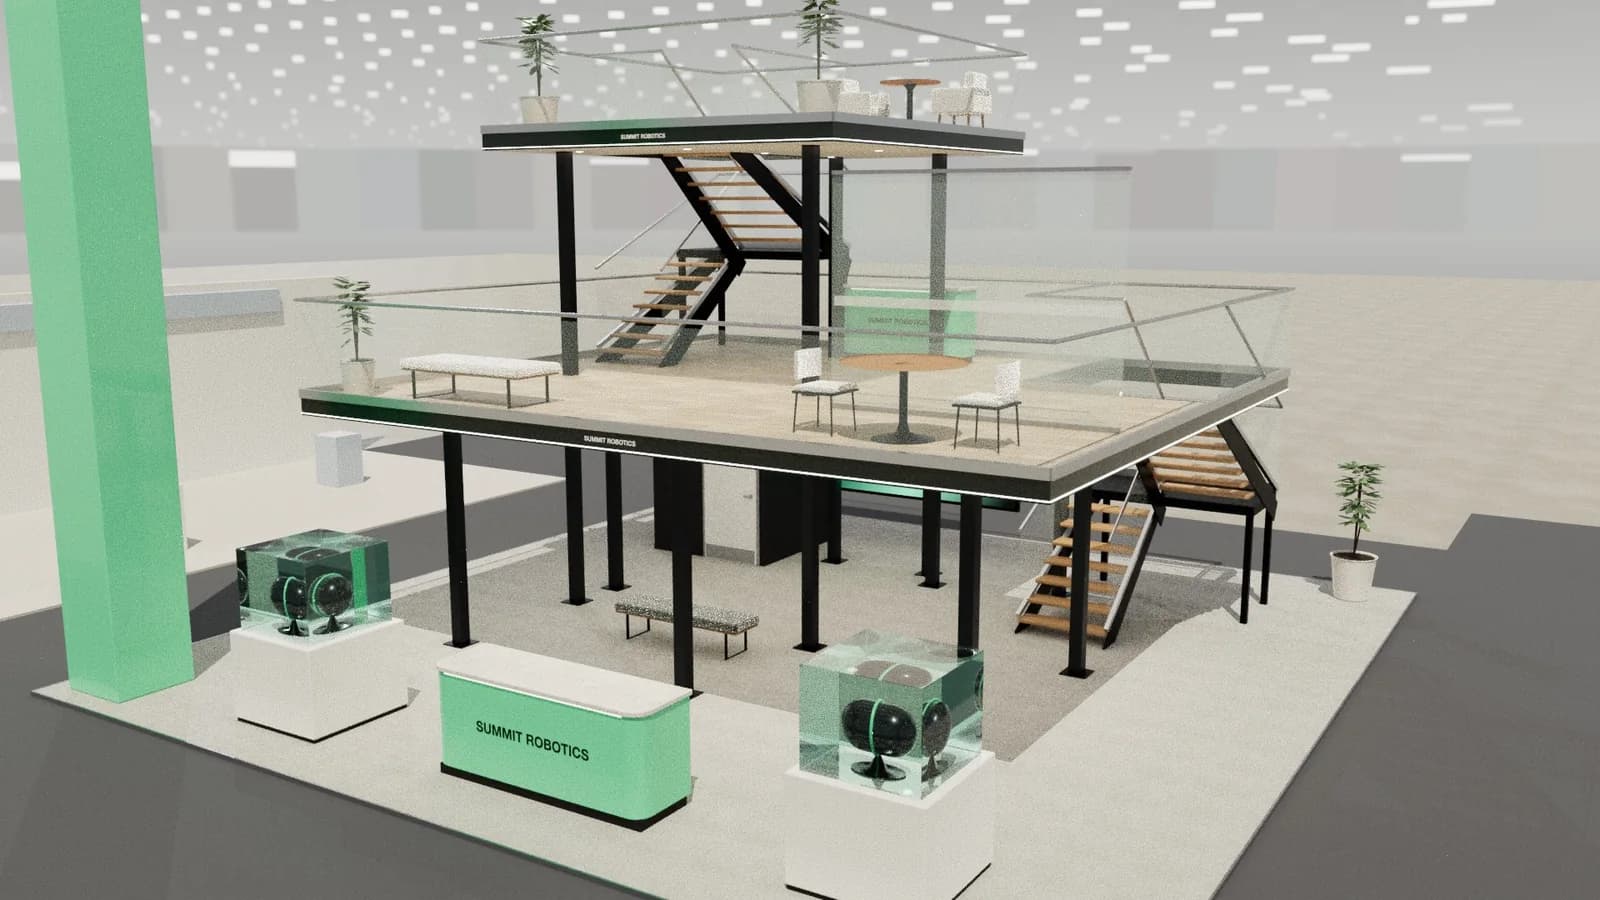
- Use height if you're allowed to.
- Put movement at eye level, such as a screen or a working product.
- Avoid standing in a line across the front.
Long row stands
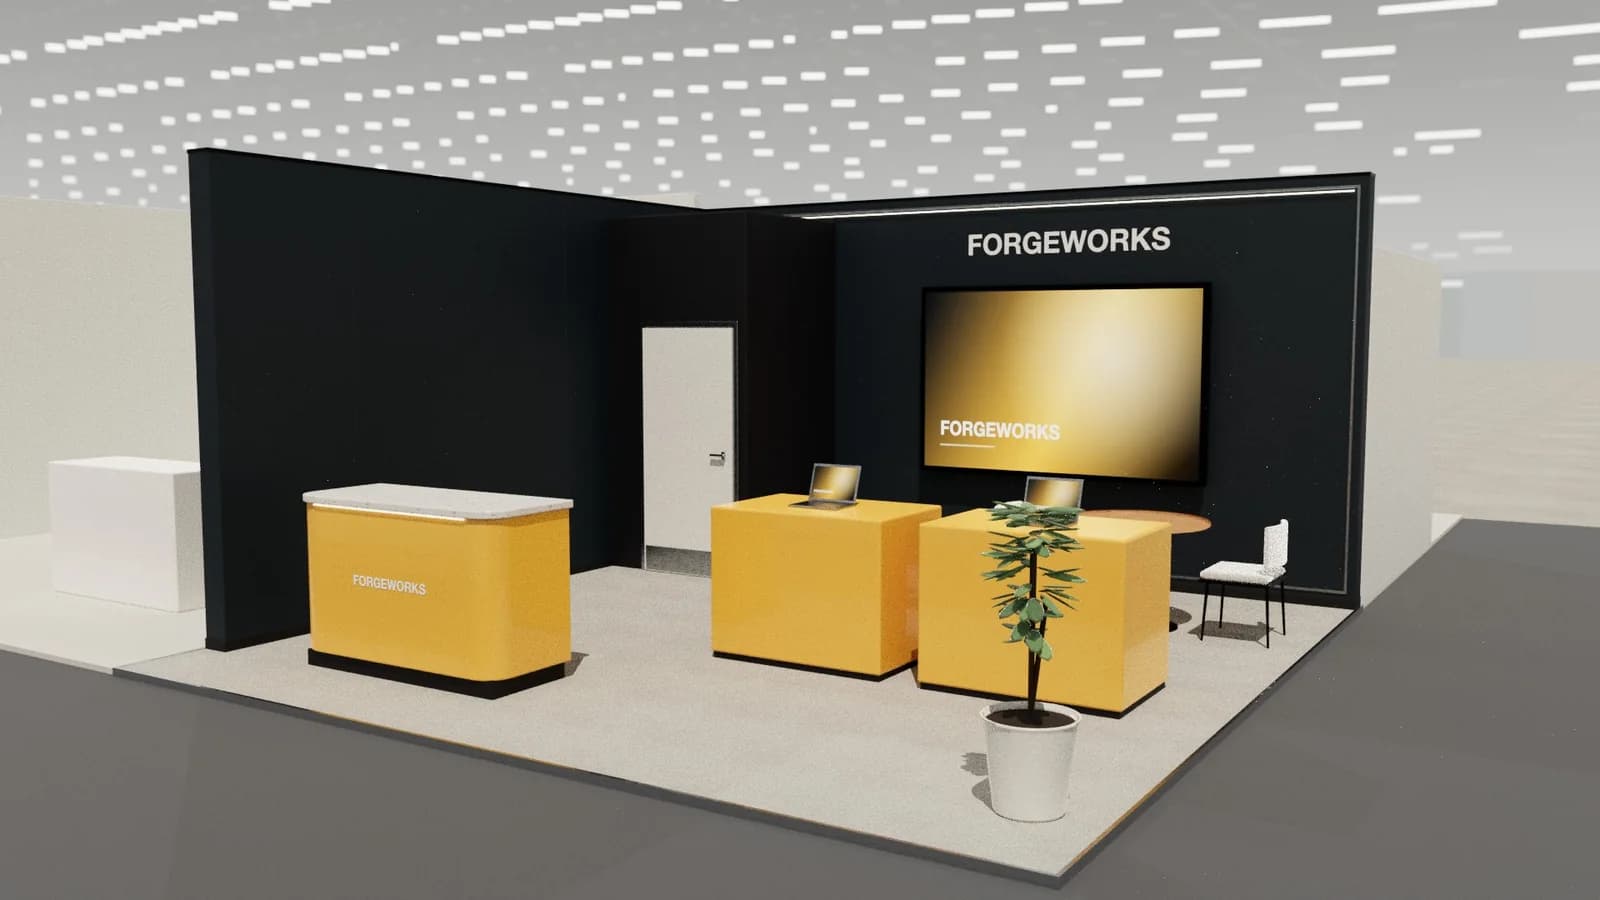
A stand of 9 m or more along an aisle gets more visual attention, but it can become a corridor. Divide it into zones. See 10×30 booth design for a US example, and 9 × 3 m booth design for a metric one.
Rules
In the US, a linear booth often has an 8 ft back wall and a line-of-sight limit. Elsewhere, limits vary, but you must not build a wall that blocks your neighbour or leaves them an ugly back. Check your manual.
Using the depth
Row stands are often 3 m deep, which leaves little room for layers. Keep the back wall thin, and don't lose floor to false walls unless you need the storage. A shallow shelf or a screen flush with the wall leaves more space for visitors. On deeper plots, a low platform or a change of floor colour draws people in.
Where to spend
On a row stand, the back wall carries most of the impression, so spend there first, followed by lighting. Furniture can be hired. If you have money left, spend it on a better position next year.
Frequently asked questions
01What is a row stand?
A stand with one open side, with neighbours left and right. In the US it's called an inline or linear booth.
02How do I stand out on a row stand?
A bold back wall, good lighting and one clear product.
03Should the counter go at the front?
Usually at one side. Across the front, it blocks the way in.
04Can a row stand have a meeting table?
On deeper plots. On 3 m of depth, use a high table.
Put it into practice
Design your trade show booth in 3D before you brief the builder
Design a trade show booth in 3D at your exact booth size, from a 10x10 inline to a 20x20 island, with renders and drawings for your builder.
Guidance here reflects common practice. Venues, organisers and countries set their own rules: always check the exhibitor manual and work with a qualified stand builder and engineer for structures.