In short
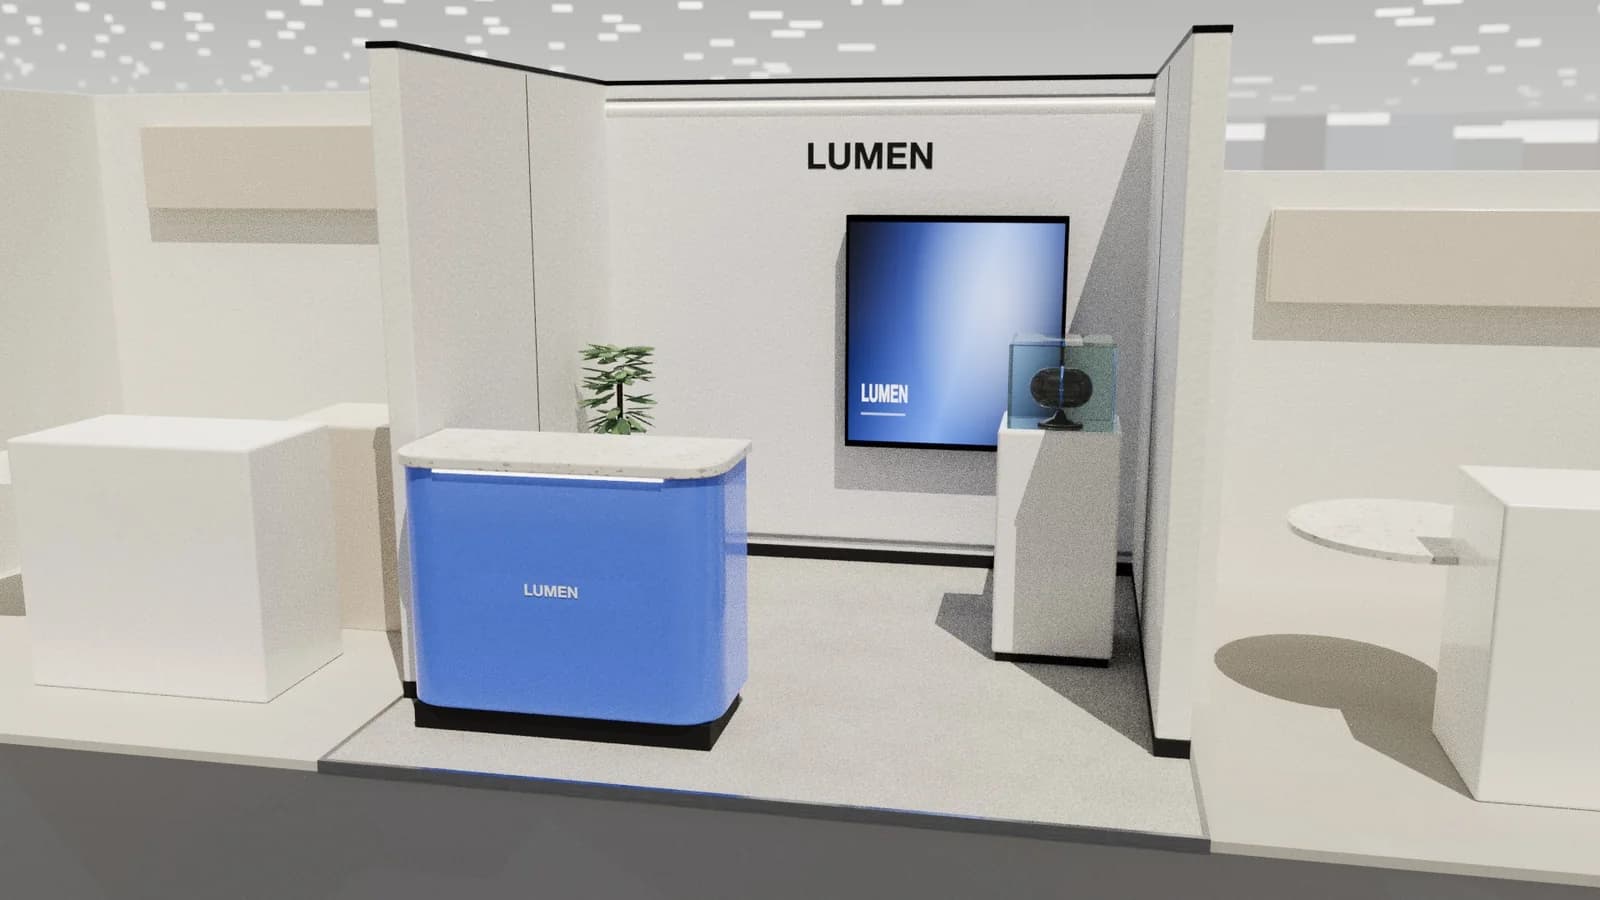
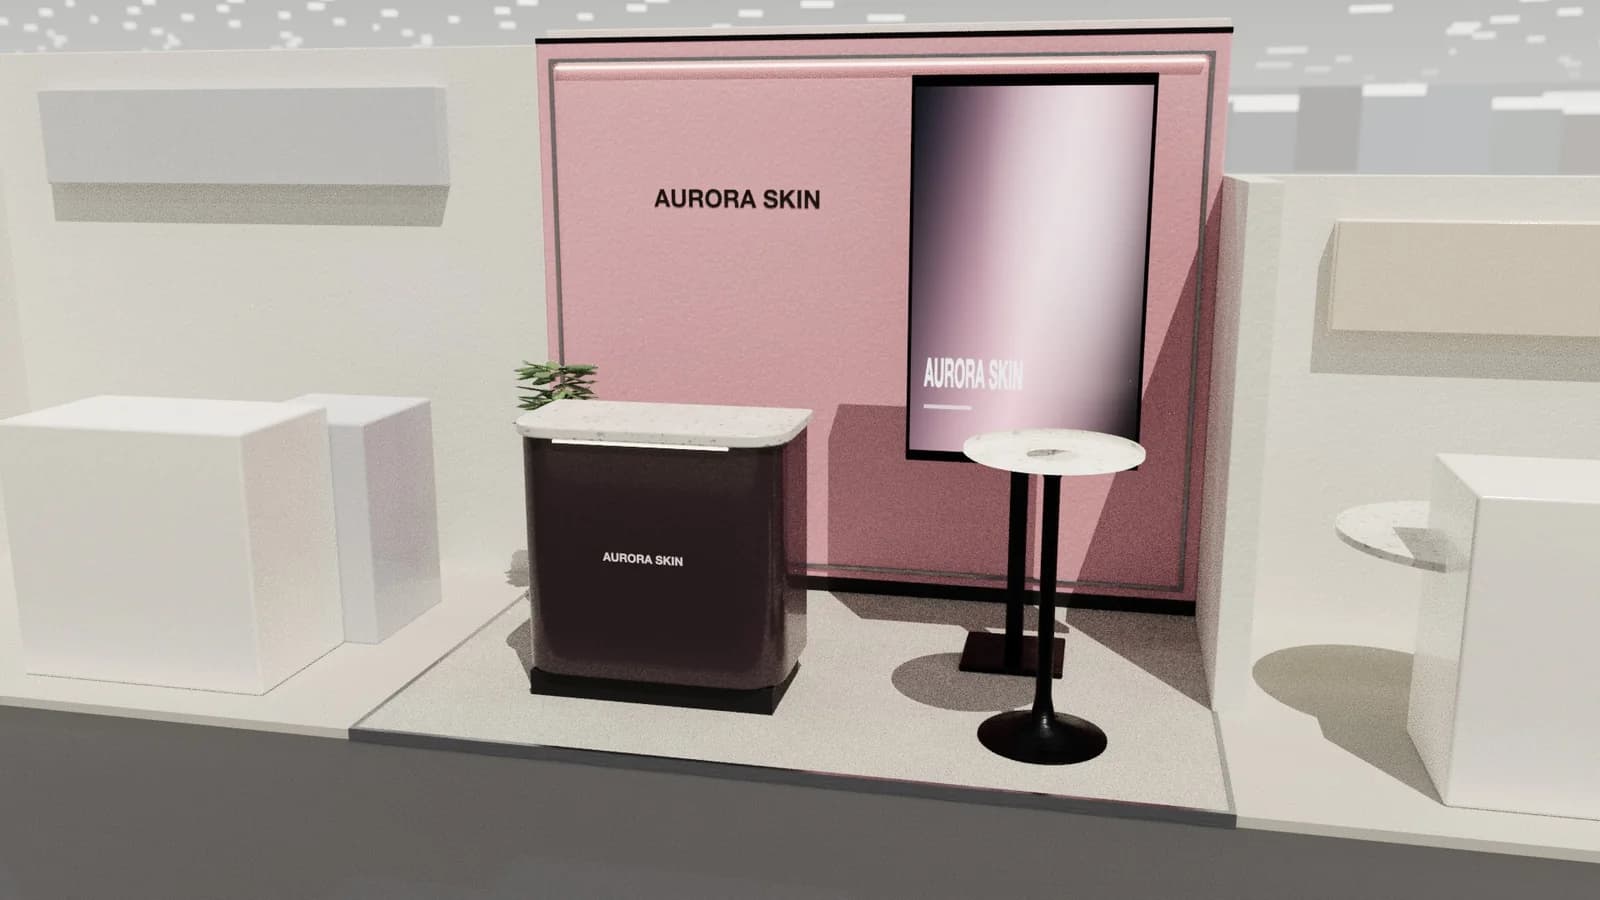
A 3 × 3 m booth (about 10 × 10 ft) has room for one strong back wall, one counter or demo point, a screen and two or three staff. The best small booths do one thing: put the brand and a single proposition on the back wall, keep the front 1.5 m open, use one counter with storage inside, and resist adding furniture that leaves no space for visitors.
Key points
- 9 m² fits one counter, one screen, a small table or a plinth, and 2–3 staff.
- Keep the front half open: visitors need to step in.
- Put storage inside the counter or behind a small door in the back wall.
- One message, large: the back wall is your billboard.
- A 10 × 10 ft US booth is about 3.05 × 3.05 m: check the exact dimensions.
What really fits
| Item | Footprint | Comment |
|---|---|---|
| Counter with storage | 1.0–1.2 × 0.5 m | Welcome point and lockable store |
| Screen | Wall-mounted | 43–55 in at about 1.4 m to the centre |
| Bar table + 2 stools | About 1.2 m diameter with stools | For short conversations |
| Plinth | 0.5 × 0.5 m | One hero product |
| Brochure stand | 0.3 × 0.4 m | Optional; QR codes save space |
Choose three of these, not all five. Each piece of furniture on a 9 m² stand removes space a visitor would stand in.
Three layouts that work
- Counter and wall: brand and screen on the back wall, counter at one front corner angled inwards, open floor in the middle. Best for lead capture.
- Demo point: a single plinth or demo table about 1 m back from the aisle with the presenter behind it facing out. Best for products.
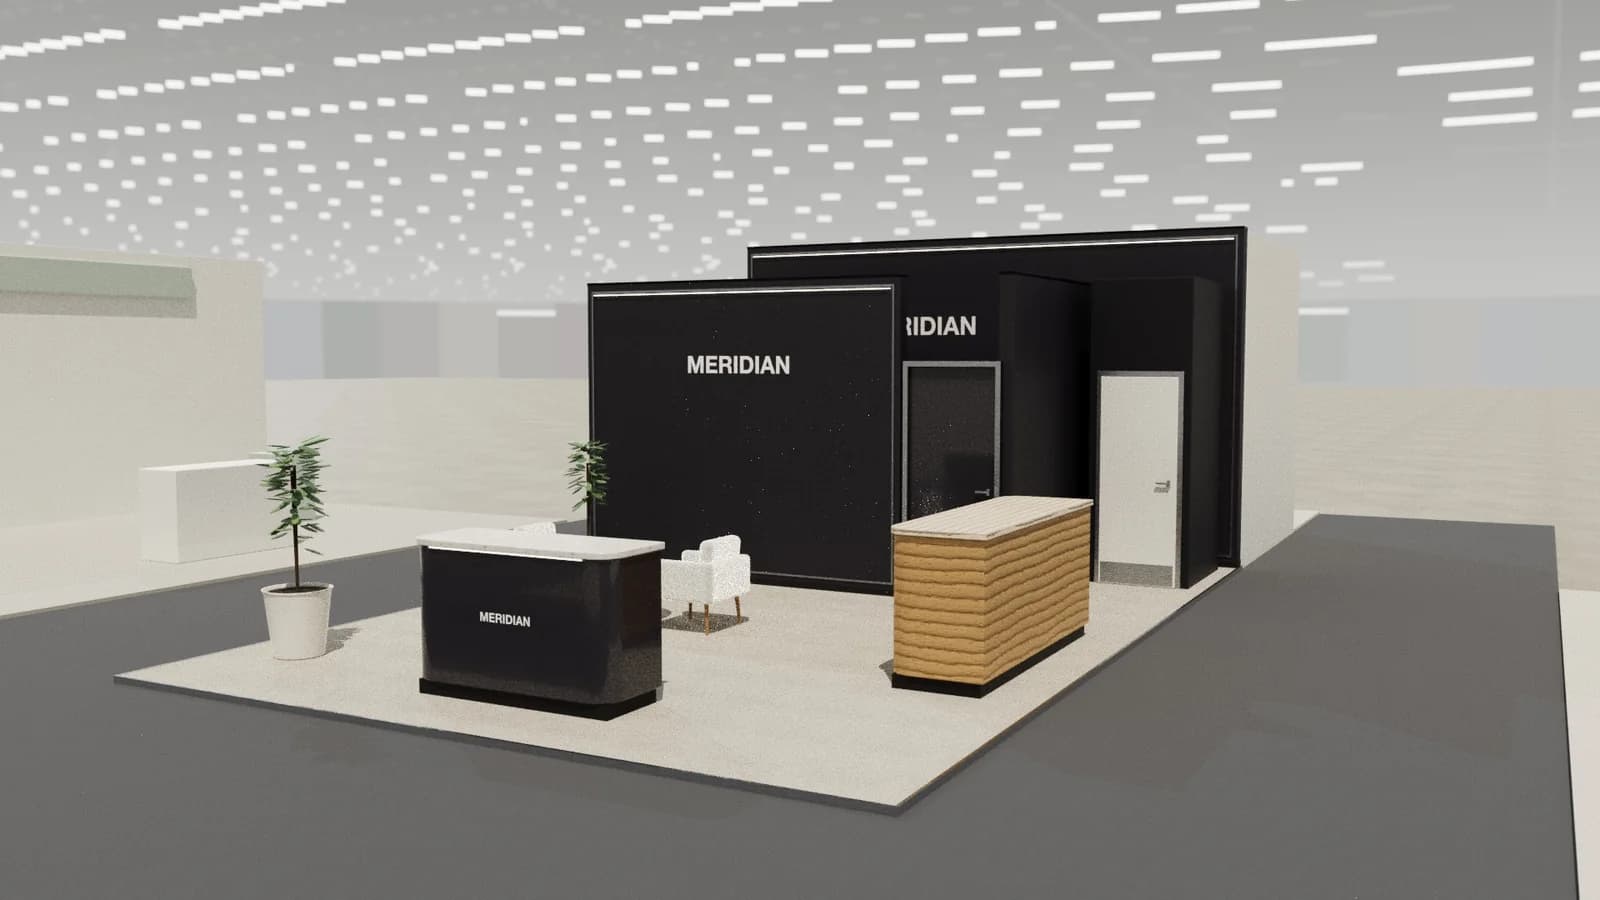
- Conversation: a bar table and two stools to one side, brand wall behind, a small counter for storage. Best for consultative selling.
Upgrading a shell scheme
Many 3 × 3 m spaces come as shell scheme: white panels, a fascia board and spotlights. To lift it:
- Cover the panels with a full-height fabric or printed graphic.
- Add a backlit lightbox or two extra spotlights on the brand.
- Replace the standard furniture with one branded counter.
- Lay a coloured floor to define the stand.
Mistakes on small stands
- A table and chairs across the front with staff sitting behind it.
- Graphics full of text: nobody reads them from the aisle.
- Boxes and coats visible because there is no storage.
- A pop-up banner in front of the screen.
Graphics for 9 m²
A small stand is seen almost entirely from the aisle, so the back wall does most of the work. Put the logo and a short proposition above about 2 m, a large product image or screen in the middle band, and keep the lower metre clear or plain, because the counter and people will cover it. On a corner 3 × 3, repeat the logo on the side wall facing the second aisle.
Staffing a small stand
With two people, one greets and qualifies while the other demonstrates or talks in depth. Stand at the front edge, not behind the counter, and keep bags and coffee in the counter store. Book longer meetings elsewhere in the venue or schedule them at quiet times.
Frequently asked questions
01How many people can staff a 3 × 3 m booth?
Two, at most three. More staff leave no room for visitors.
02Is a 10 × 10 booth the same as 3 × 3 m?
Nearly: 10 ft is 3.05 m. Check the organiser's exact dimensions before ordering graphics.
03Can I have a meeting room on a 3 × 3 m stand?
Not realistically. Use a bar table for short conversations and book meeting space elsewhere for longer meetings.
04What screen size suits a 3 × 3 m booth?
Usually 43–55 in. Larger screens overwhelm the space and are hard to view from inside a small stand.
Put it into practice
Design your trade show booth in 3D before you brief the builder
Design a trade show booth in 3D at your exact booth size, from a 10x10 inline to a 20x20 island, with renders and drawings for your builder.
Guidance here reflects common practice. Venues, organisers and countries set their own rules: always check the exhibitor manual and work with a qualified stand builder and engineer for structures.