In short
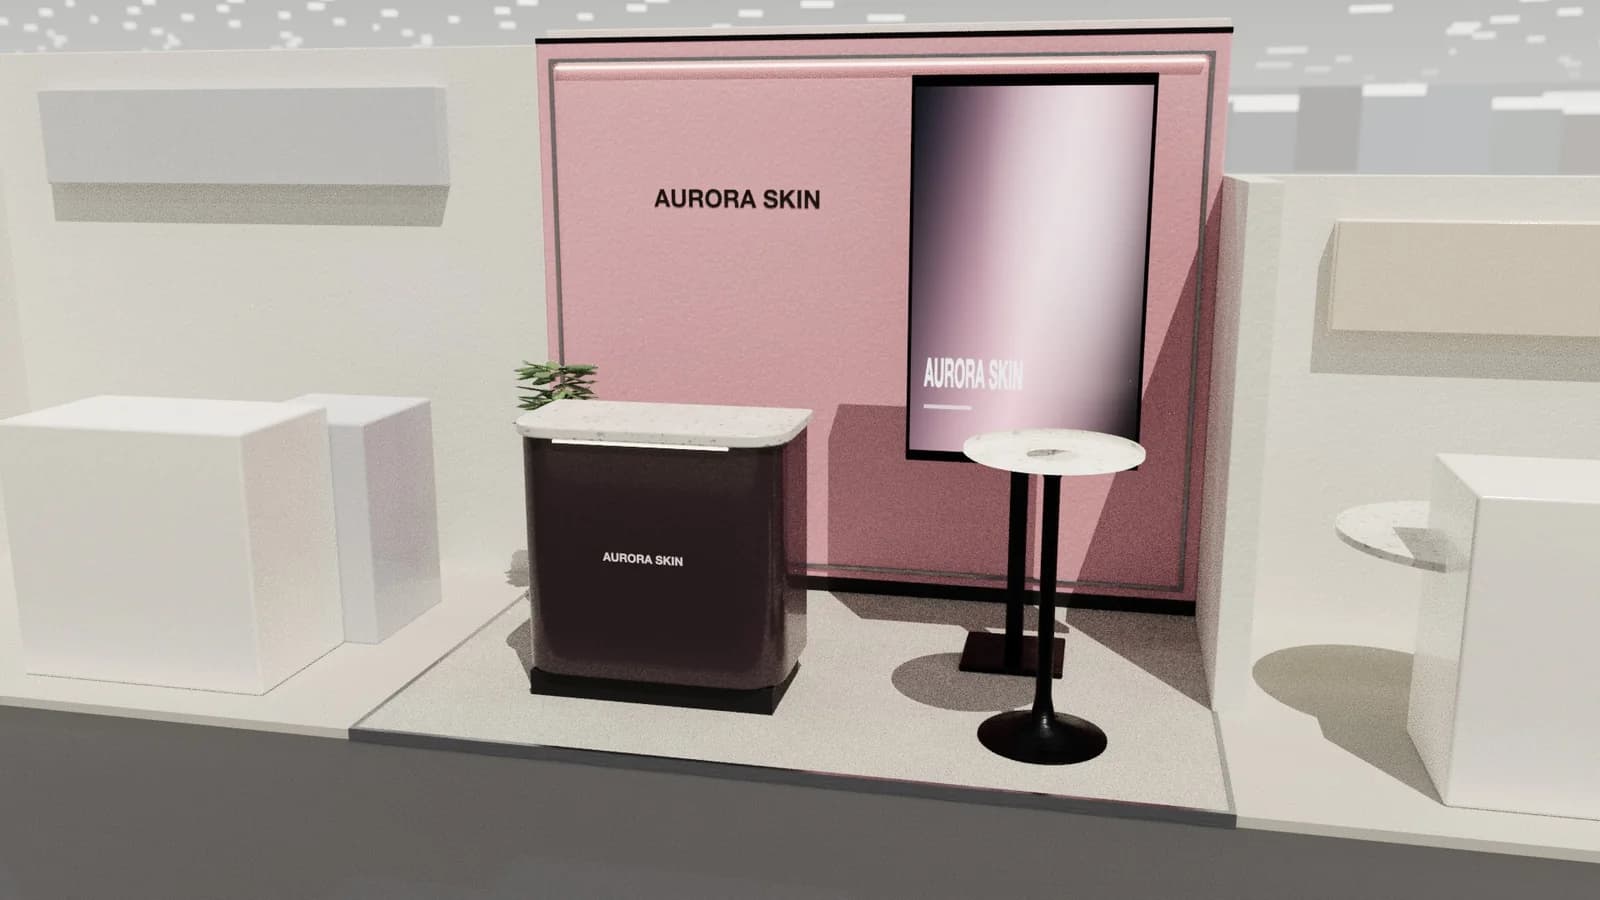
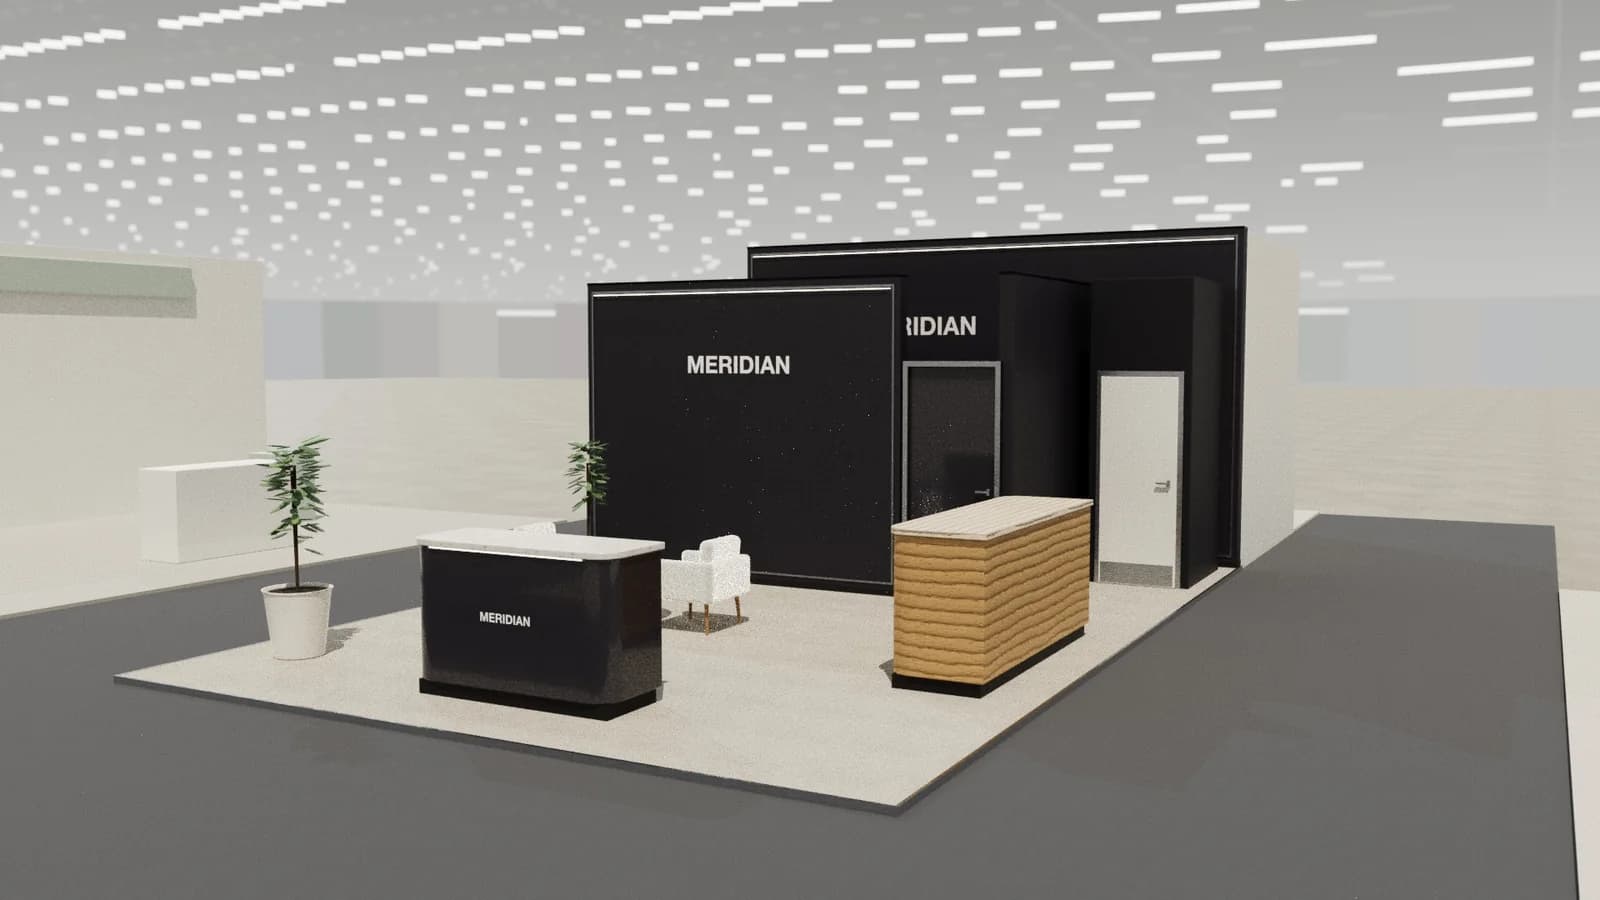
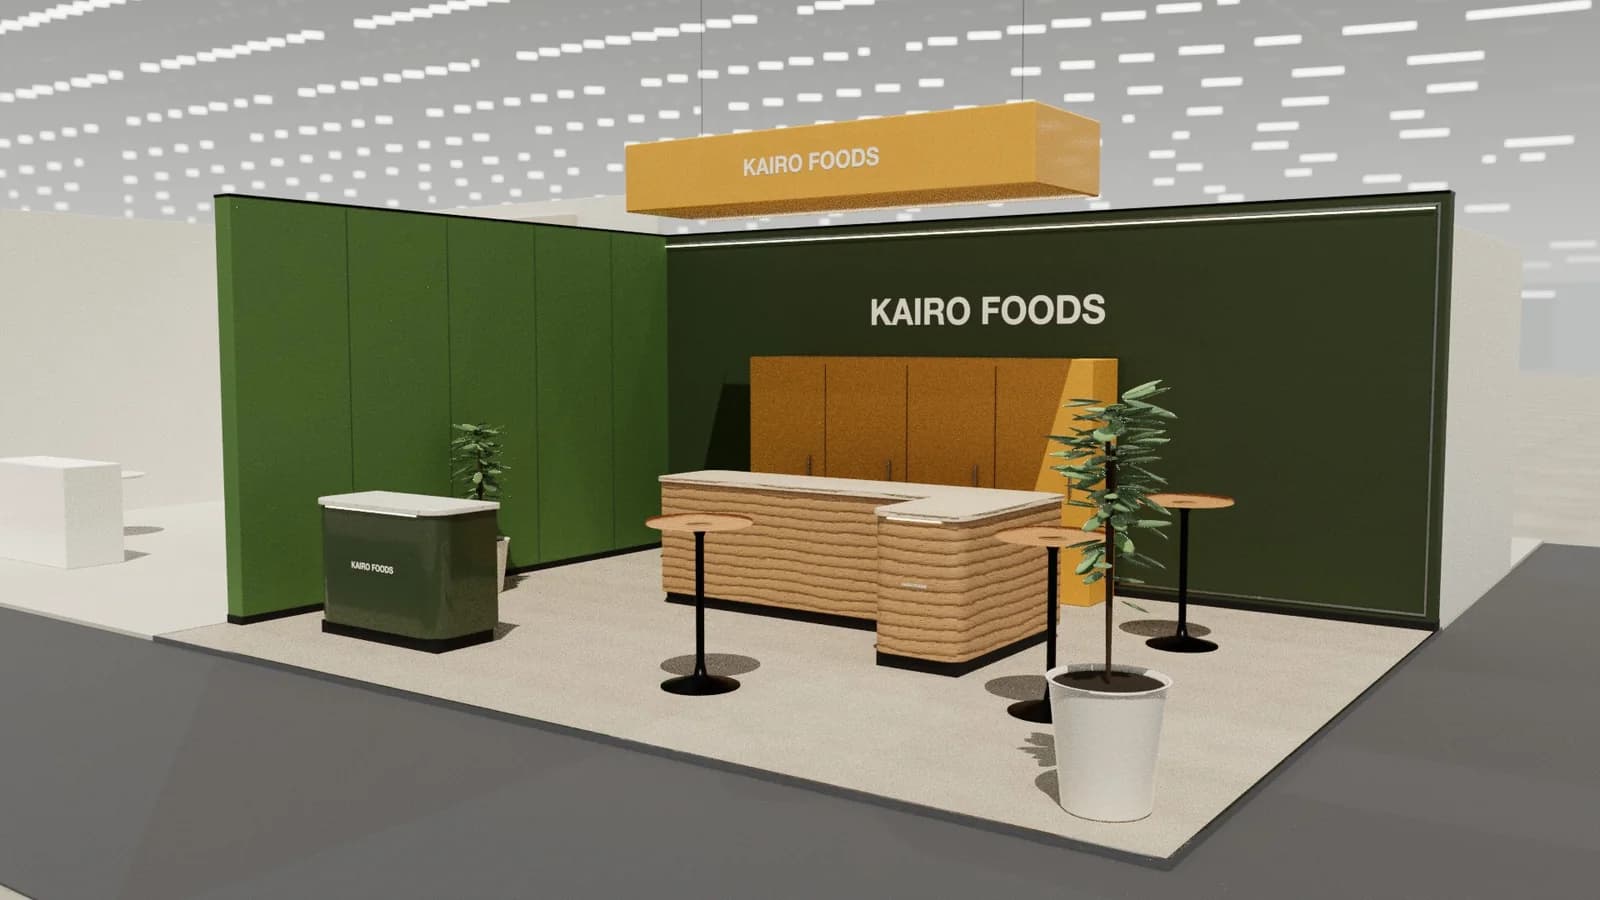
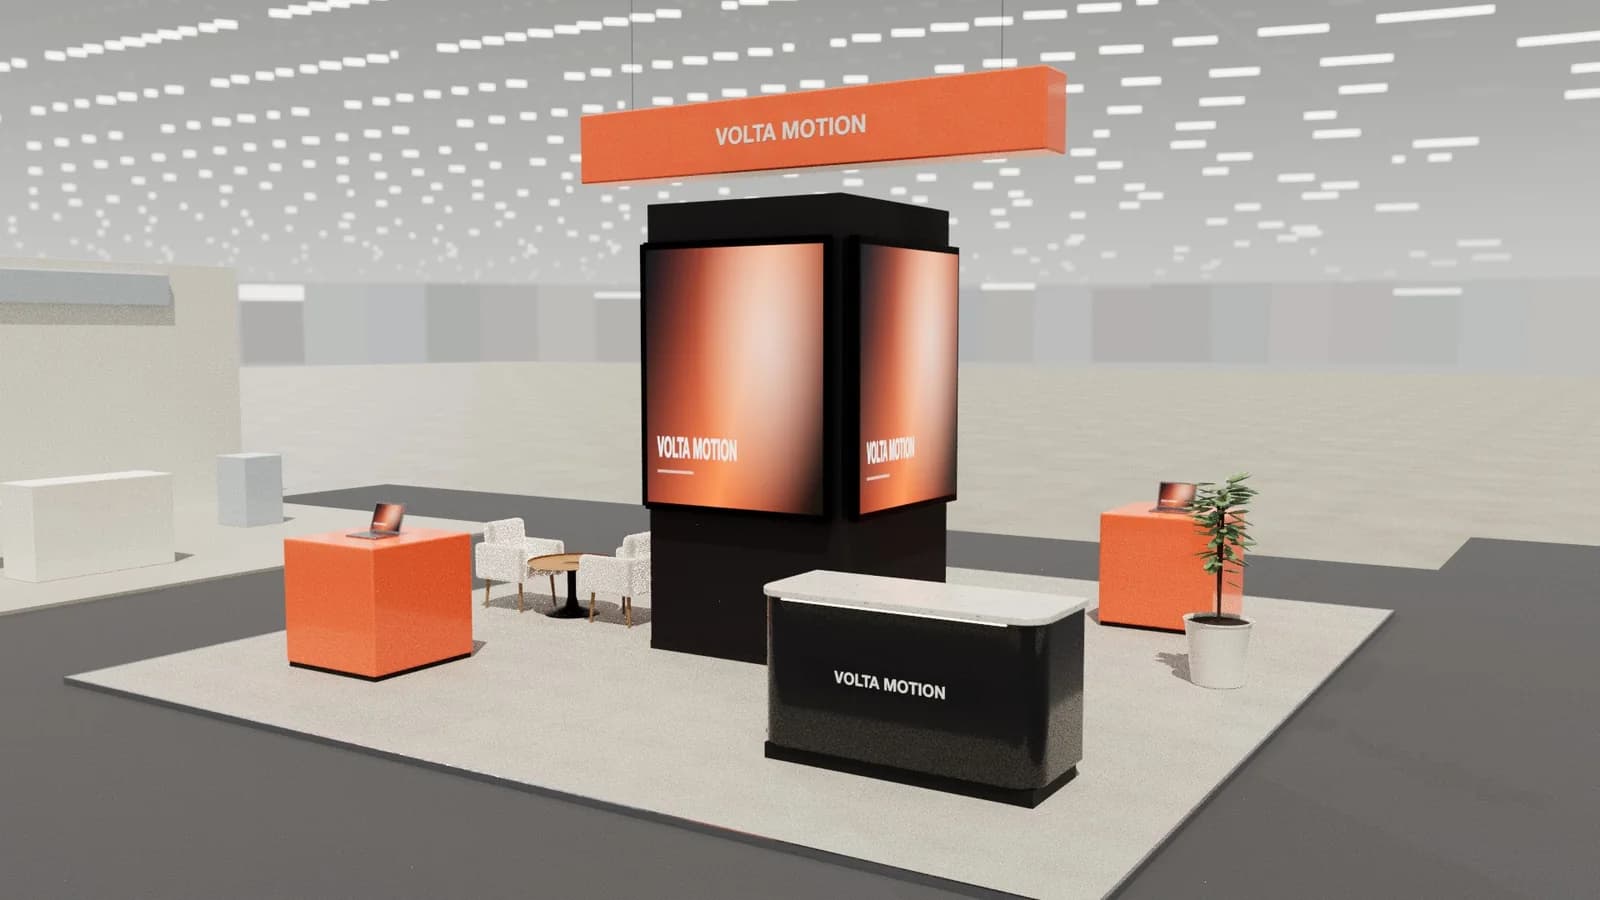
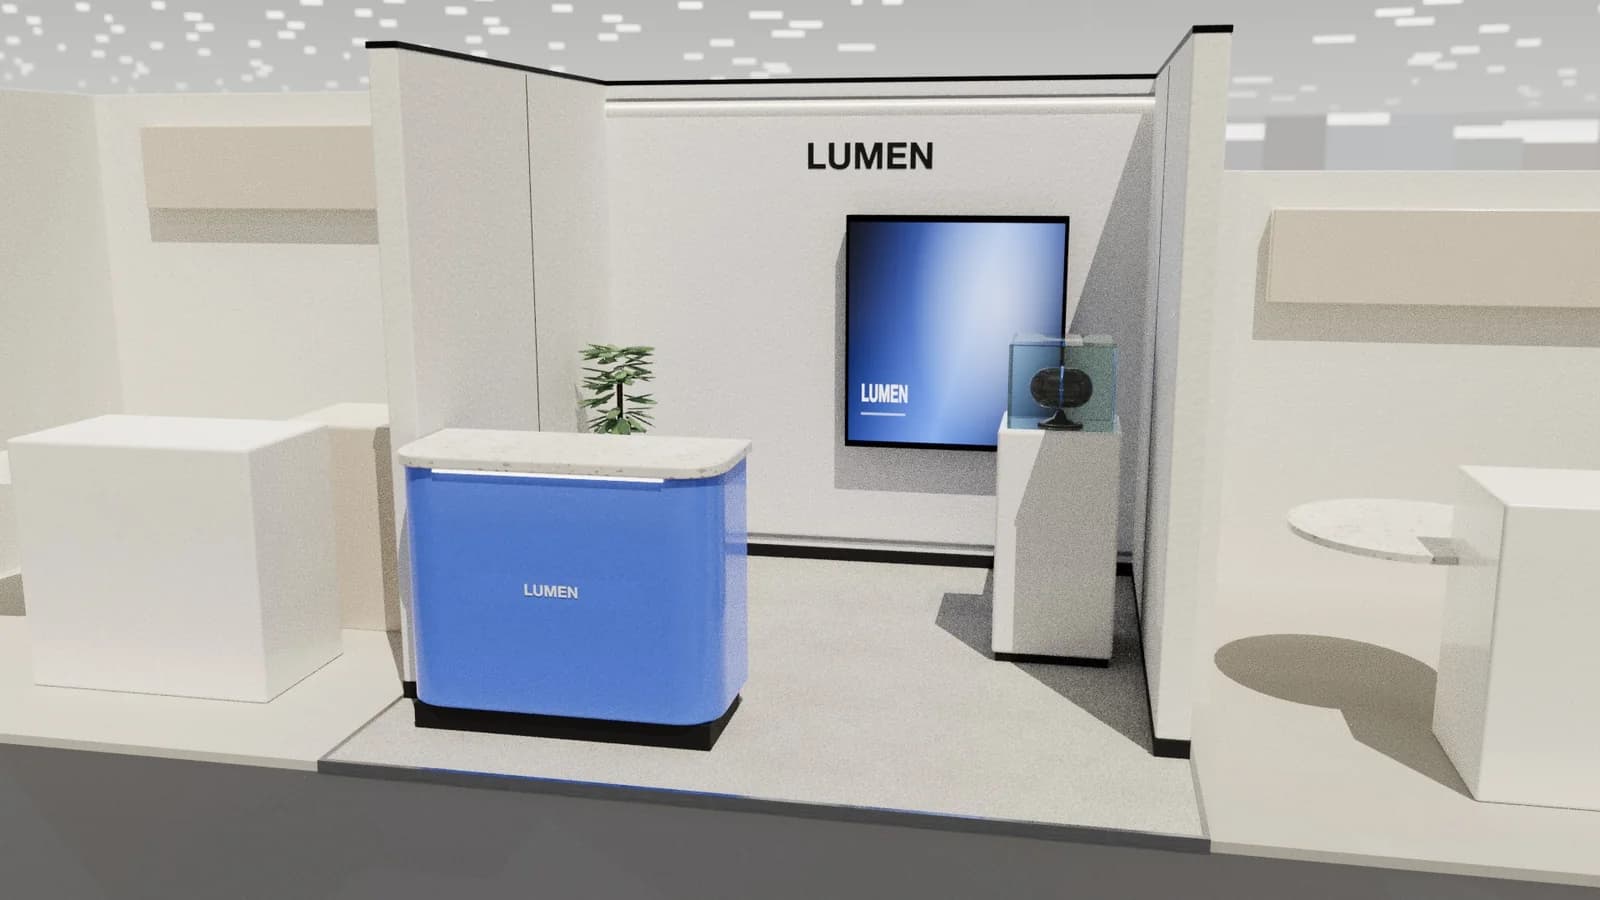
A 6 × 3 m booth (roughly 10 × 20 ft) is long and shallow, so it works as a line of zones along the aisle: welcome at one end, demo or product in the middle, a conversation area or store at the other. Keep the front open across its length, use the long back wall for the brand and a large screen, and fit storage at one end behind a door.
Key points
- Think in three 2 × 3 m zones along the aisle.
- The long back wall carries brand, screen and products.
- A store at one end (about 1 × 1.5 m) keeps clutter out of sight.
- Leave at least 1.2 m between the front edge and furniture in the middle.
- On a corner, the open short side becomes a second entrance.
Zone along the length
| Zone | Width | Contents |
|---|---|---|
| Welcome | 1.5–2 m | Counter with storage, angled to the aisle |
| Show | 2–3 m | Demo table or plinths; screen on the wall behind |
| Talk / store | 1.5–2 m | Bar table and stools, or a closed store with a door |
Using the long back wall
Six metres of wall is a lot of billboard. Use it in thirds: brand and proposition across the top above 2.2 m, a large screen centred on the show zone, and shelves or lit niches for products at eye level. Avoid clutter: three strong elements beat ten small ones.
Storage
A store of about 1 × 1.5 m at one end takes coats, bags, brochures and stock. It needs a real door (at least 0.7 m wide for a small store, 0.9 m if staff carry boxes) and should not block the back wall graphics. The counter can hold extra storage.
6 × 3 m on a corner
If one short side is open, place the welcome there so visitors from both aisles can see it, and put the store at the closed end. The open end often has more traffic than the long front.
Planning steps
- 01
Write the objective
Demos, meetings or lead capture? This decides the middle zone.
- 02
Place the fixed items
Store, screen and counter first, then furniture.
- 03
Check routes
0.9 m minimum to every seat, counter and door; 1.2 m along the front.
Lighting a long stand
Light the three zones separately so each reads on its own: a spot on the welcome counter logo, two or three spots on the show zone, and softer light over the talk area. A backlit header or lightbox along the back wall ties the length together and reads from far down the aisle. See stand lighting.
Frequently asked questions
01What fits on a 6 × 3 m stand?
A counter with storage, a demo table or two plinths, a large screen, a bar table with stools and a small store, with room for visitors.
02Is 6 × 3 m the same as 10 × 20 ft?
Close: 10 × 20 ft is about 3.05 × 6.1 m. Use the organiser's exact dimensions for graphics and walls.
03Can a 6 × 3 m stand have a meeting room?
A tiny closed room is possible but takes a third of the floor; most 18 m² stands do better with an open bar table and a store.
04Where should the screen go on a 6 × 3 m stand?
Centred on the back wall above the show zone, mounted high enough that people at the counter don't hide it.
Put it into practice
Design your trade show booth in 3D before you brief the builder
Design a trade show booth in 3D at your exact booth size, from a 10x10 inline to a 20x20 island, with renders and drawings for your builder.
Guidance here reflects common practice. Venues, organisers and countries set their own rules: always check the exhibitor manual and work with a qualified stand builder and engineer for structures.