In short
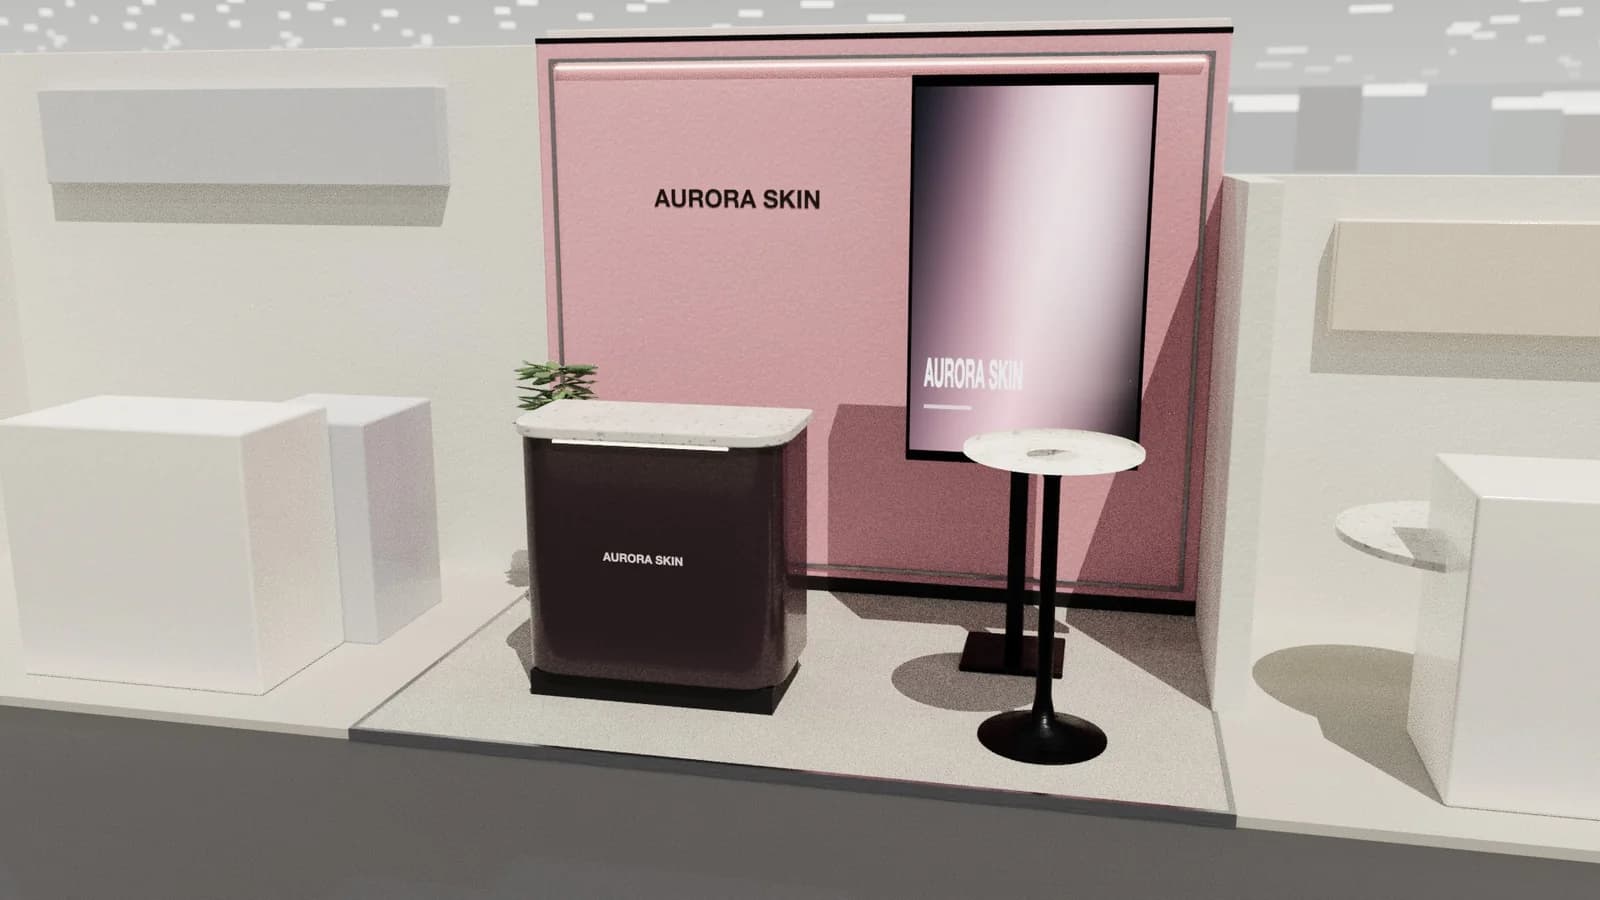
A small stand looks premium when it does one thing well. Remove the standard furniture, hide everything you can, and put the budget into a single strong wall, good lighting and one object or message. On 9 to 20 m², every extra item takes floor and attention. The stand next door will have banners, brochures and a bowl of sweets, so calm and order will make yours stand out.
Key points
- Remove things before adding anything.
- One wall can carry the whole impression.
- Storage must be hidden from the start.
- Add light before you add graphics.
Start by removing
- The organiser's standard table and chairs.
- Pop-up banners in front of walls.
- Brochure racks. Use a QR code or follow up by email.
- Bowls, leaflets and small giveaways on the counter.
- Second and third messages on the wall.
Five ideas that work
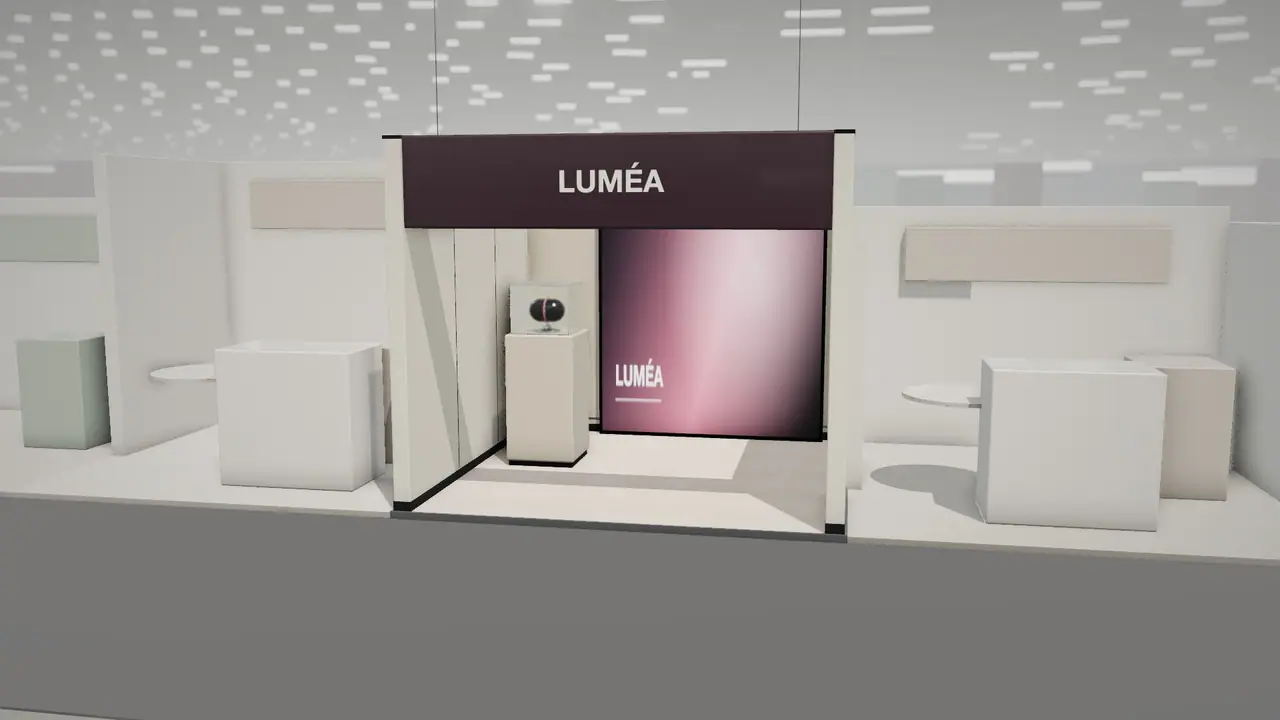
- One material wall: a full-height timber batten or backlit fabric wall.
- A slim counter with a hidden store: lockable shelves on the staff side keep the floor clear.
- A single lit plinth: one product under one good spot.
- A floating logo: lettering stood off the wall with a halo of LED light.
- A strip of light: an LED strip along the counter base lifts the whole stand.
If it is shell scheme
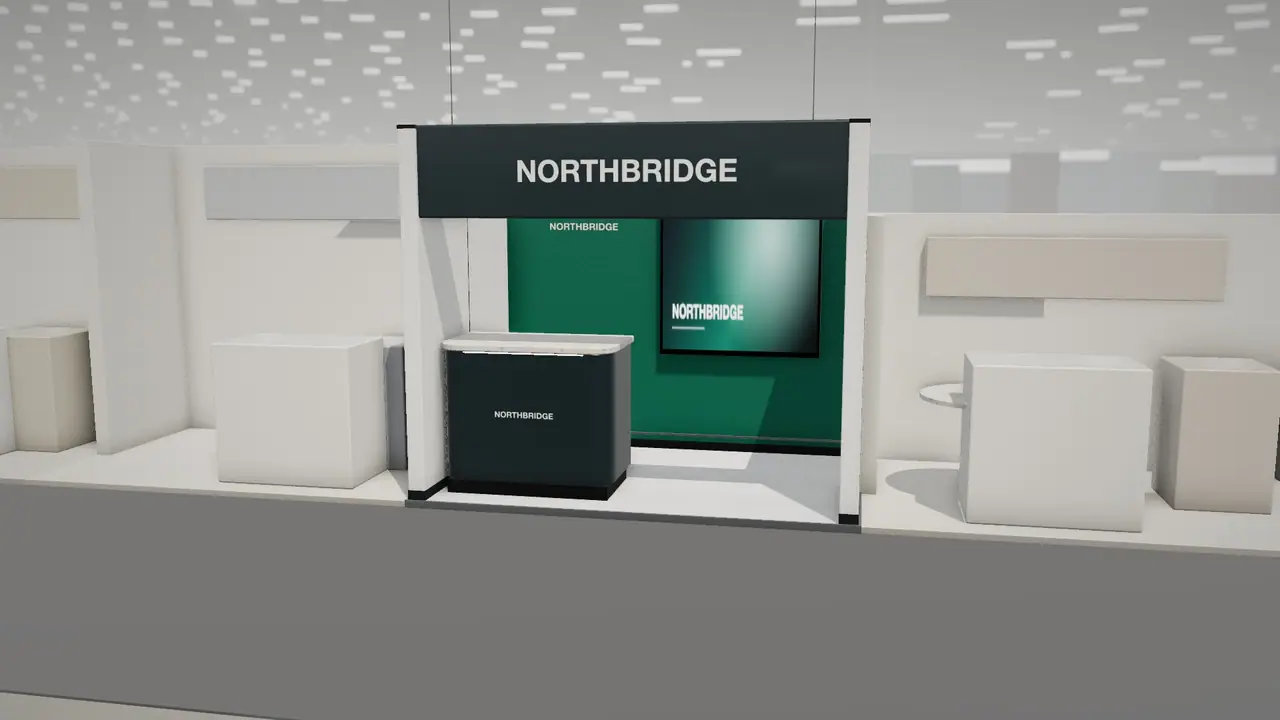
Covering the shell panels makes the biggest difference. A full wrap of printed fabric hides the grid, and replacing the fascia board (if allowed) removes the most obvious sign of a standard booth. Read shell scheme ideas for the details, and ask what the organiser allows before planning anything fixed to the panels.
Staff are part of the design
On a small stand, two people standing at the front can block it completely. Keep staff to the side of the entrance, let the aisle see the product, and keep bags and coats off the stand. Use the staff calculator to check how many people the plot can really hold.
| Plot | Keep | Leave out |
|---|---|---|
| 9 m² | One wall, one counter, one product | Tables, meeting space |
| 12–16 m² | Add a high table or a screen | Closed storage rooms |
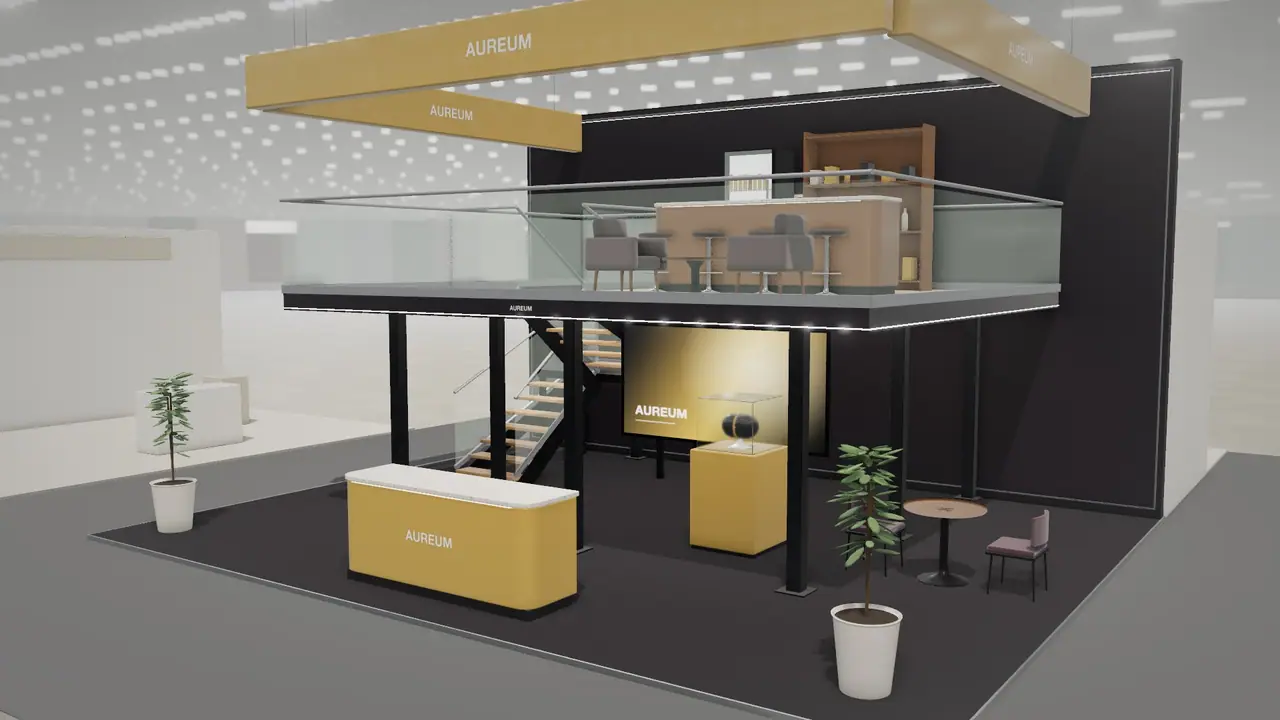
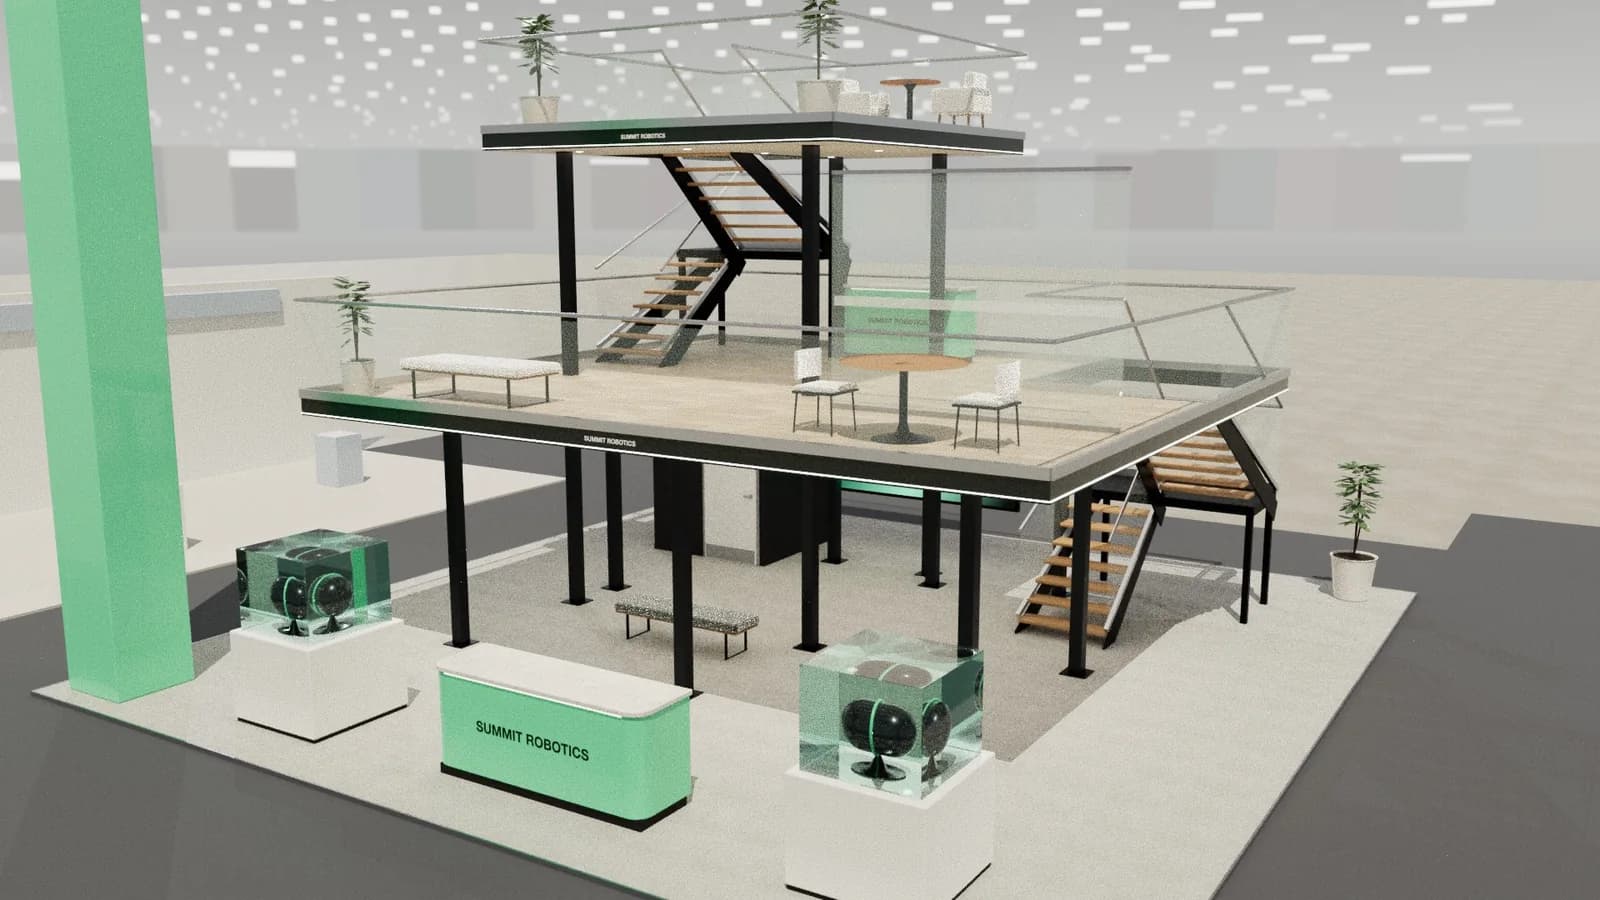
| 18–20 m² | Add a demo point and a small store | A closed room, a bar |
Frequently asked questions
01How do I make a 3x3 stand stand out?
One bold wall, strong lighting, one product and nothing on the floor. See the [3 × 3 m guide](/guides/3x3-booth-design).
02What should I spend on first for a small stand?
A single full-height graphic or material wall, then lighting.
03Should I add a screen to a small stand?
Only if it shows something a person cannot. A silent loop of the product in use can work; slides rarely do.
04Where do I hide things on a small stand?
Inside the counter or behind a false wall, if the manual allows. Plan it from the start; a corner of boxes kills a small stand.
Put it into practice
Design your trade show booth in 3D before you brief the builder
Design a trade show booth in 3D at your exact booth size, from a 10x10 inline to a 20x20 island, with renders and drawings for your builder.
Guidance here reflects common practice. Venues, organisers and countries set their own rules: always check the exhibitor manual and work with a qualified stand builder and engineer for structures.