In short
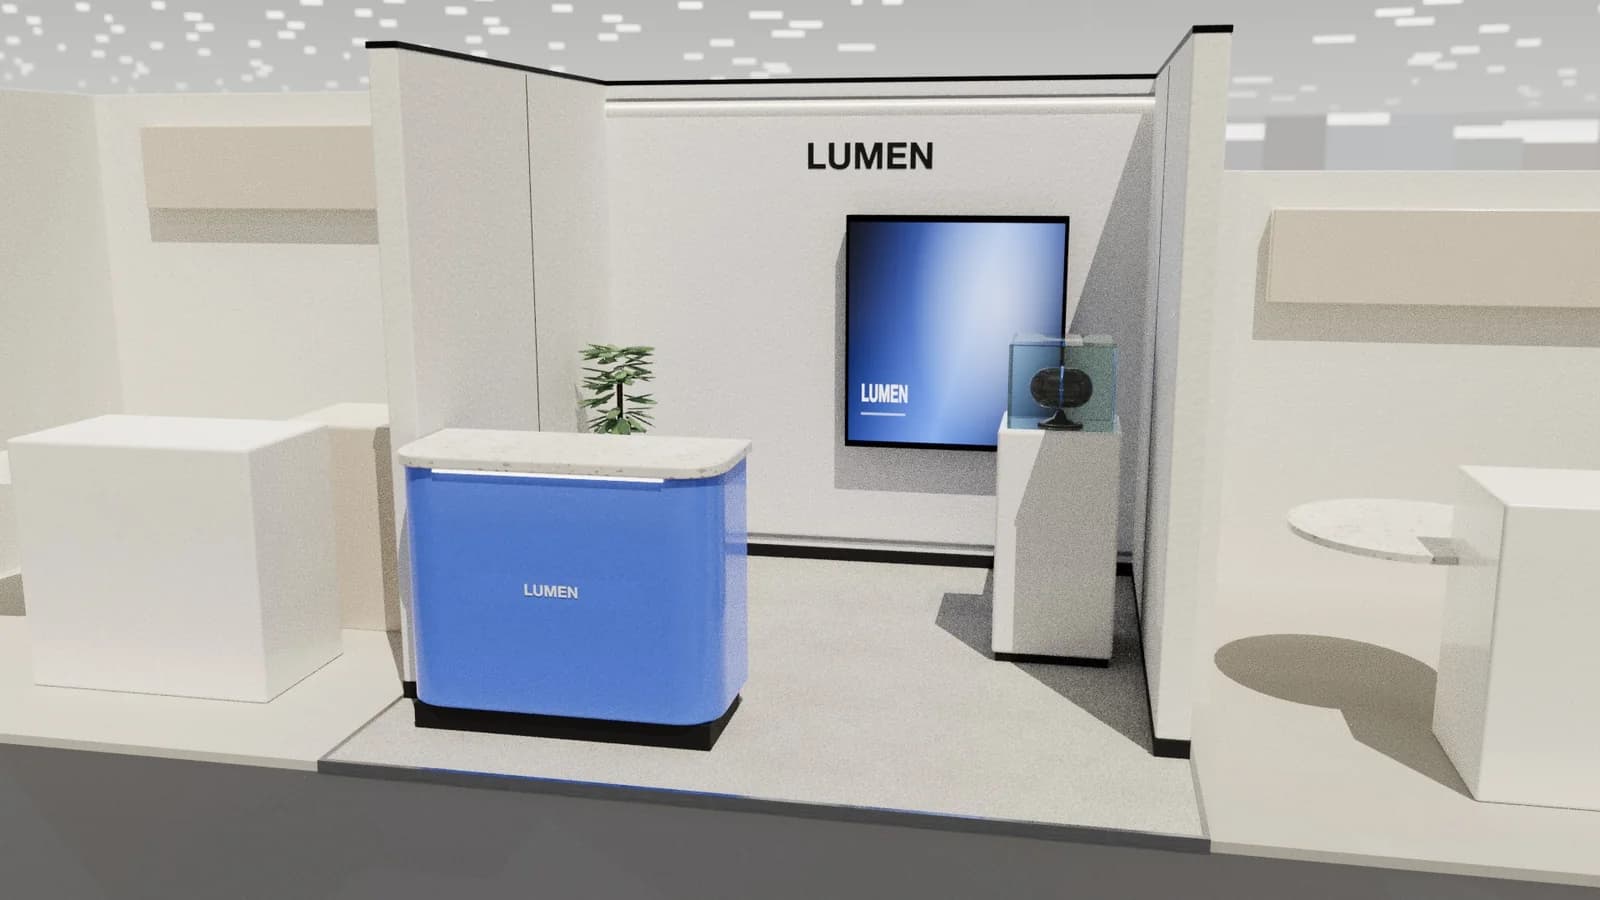
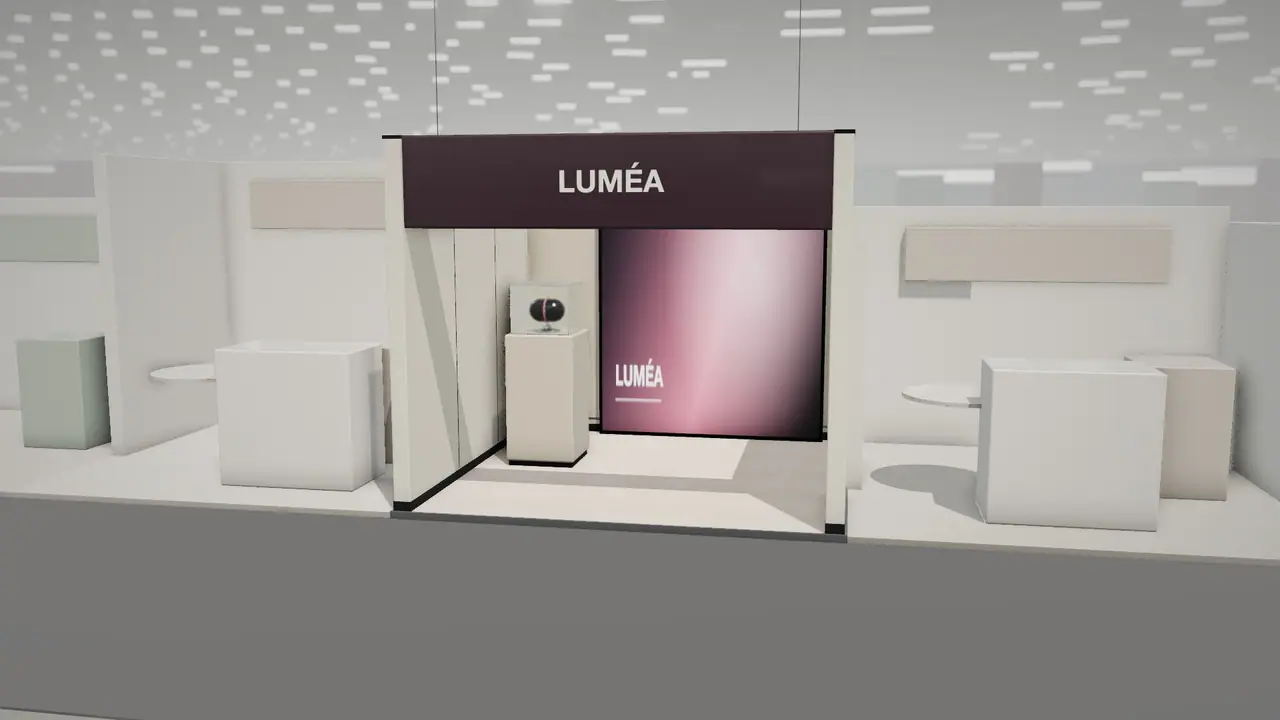
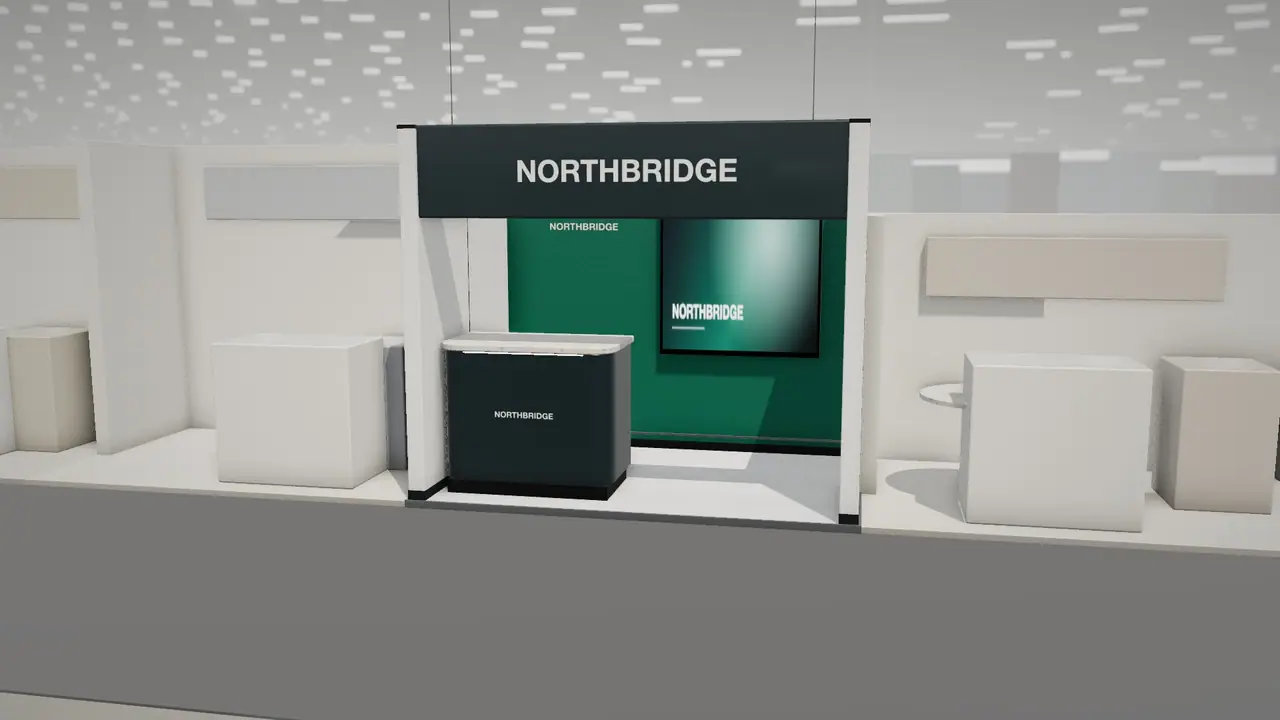
A shell scheme stand is a standard kit of walls, fascia, carpet and lights, so the best designs hide the kit. Cover the panels with one continuous printed graphic, replace or dress the fascia, change the furniture and add your own light. Before you buy anything, check how the organiser allows graphics to be fixed, how much the walls can carry and how high anything may go above the shell.
Key points
- Wrap the whole shell in a single graphic if you can.
- Measure the actual panel sizes from the manual.
- Most shell walls cannot be drilled or painted.
- Your own lighting makes the biggest visible upgrade.
What you start with
A package usually includes walls, a fascia with your name, carpet, some lights and a socket, though the details vary by show. Our shell scheme or space only guide covers the choice. This page is about what to do once you have one.
Ideas in order of impact
- 1Wrap the walls: a printed fabric or vinyl-on-foam panel across all walls hides the grid.
- 2Fix the fascia: a printed fascia cover, or a raised logo where allowed.
- 3Replace the lights: add LED arms or a lightbox to lift the wall.
- 4Change the floor: a coloured carpet or rug, where the organiser allows.
- 5Bring one counter: a branded counter with hidden storage replaces the standard table.
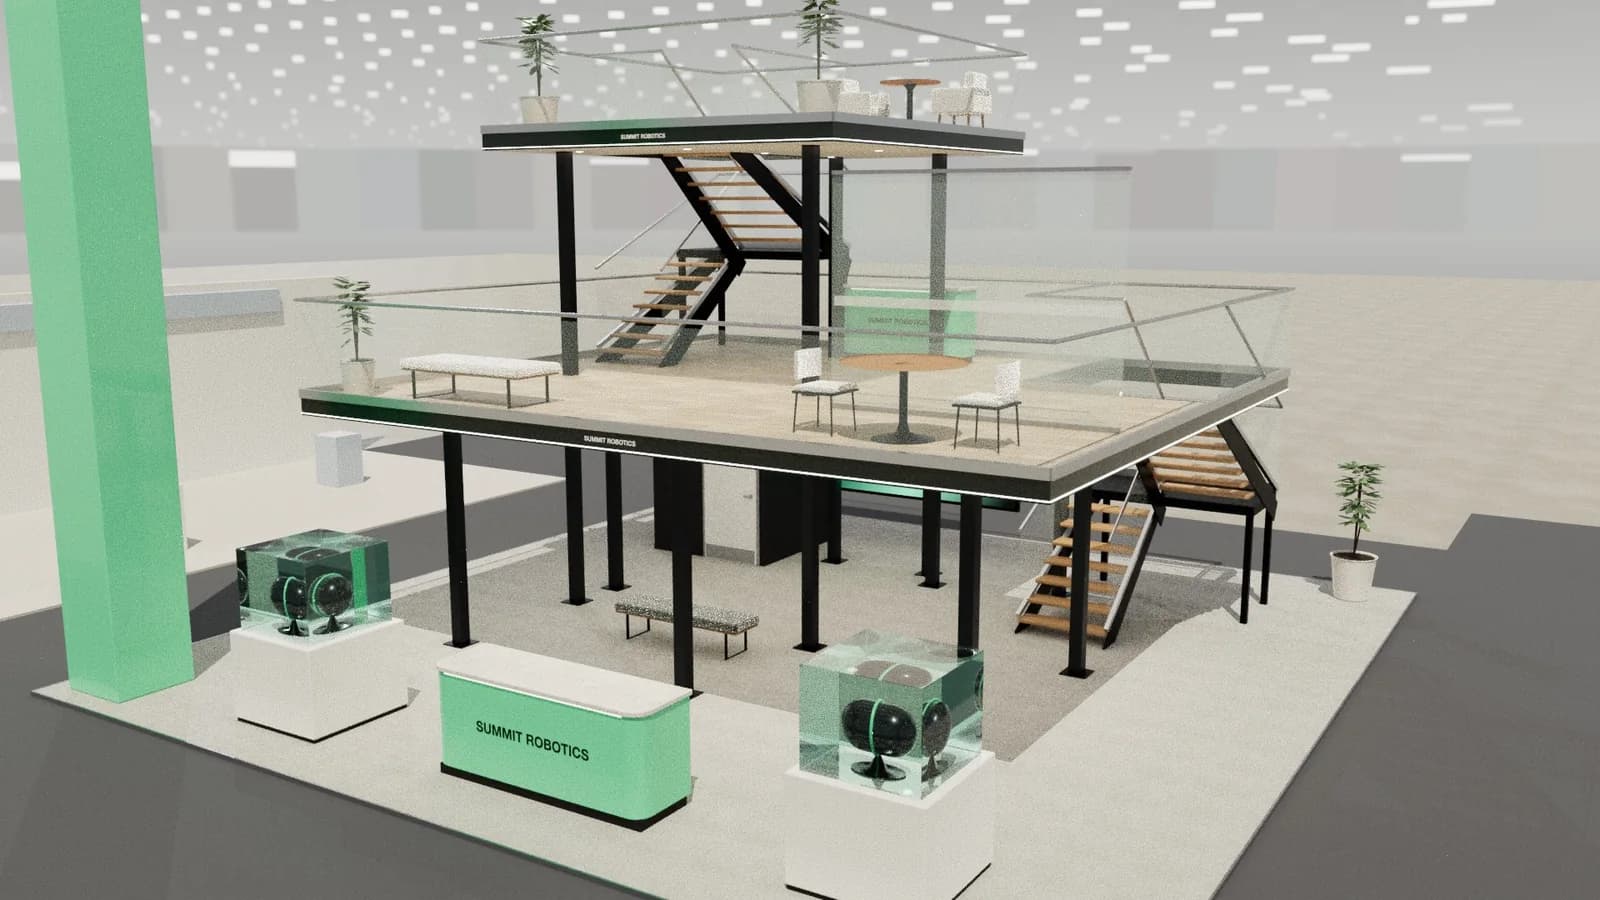
- 6Add height: a slim tower or a hanging element, if the manual permits.
Fixing graphics without damage
| Method | Good for | Check |
|---|---|---|
| Hook and loop | Light fabric graphics | Whether stick-on tape is allowed on panels |
| Clips into frame slots | Fabric on system shells | The shell's profile type |
| Pole pockets | Fabric that hangs from a beam | Maximum load on the top beam |
| Freestanding back panel | Rigid graphics, or walls that cannot carry load | Depth lost from the plot |
Measure from the organiser's shell drawing, not from a similar show. Panels have visible upright posts, and a graphic that runs across them will show a ridge unless the design allows for it.
Common mistakes
- Assuming a 3 m wall means a 3 m graphic: panel posts reduce the visible width.
- Tape that lifts when the hall warms up.
- Ordering graphics before confirming the plot's open sides.
- Keeping the standard chairs, which instantly make it look like a stock booth.
Frequently asked questions
01Can I paint a shell scheme stand?
Usually not. Panels belong to the contractor. Cover them with removable graphics, as allowed in the manual.
02How do I attach graphics to a shell scheme?
Usually with approved hook-and-loop, clips or a freestanding panel. Check what the show allows, since some tapes damage panels.
03Can I remove a shell scheme wall?
Sometimes, on request and before build-up. Open sides need planning with the organiser.
04Do I need a stand builder for a shell scheme?
Usually not. A graphics printer and a counter can be enough, though a small team to install is useful.
Put it into practice
Design your trade show booth in 3D before you brief the builder
Design a trade show booth in 3D at your exact booth size, from a 10x10 inline to a 20x20 island, with renders and drawings for your builder.
Guidance here reflects common practice. Venues, organisers and countries set their own rules: always check the exhibitor manual and work with a qualified stand builder and engineer for structures.