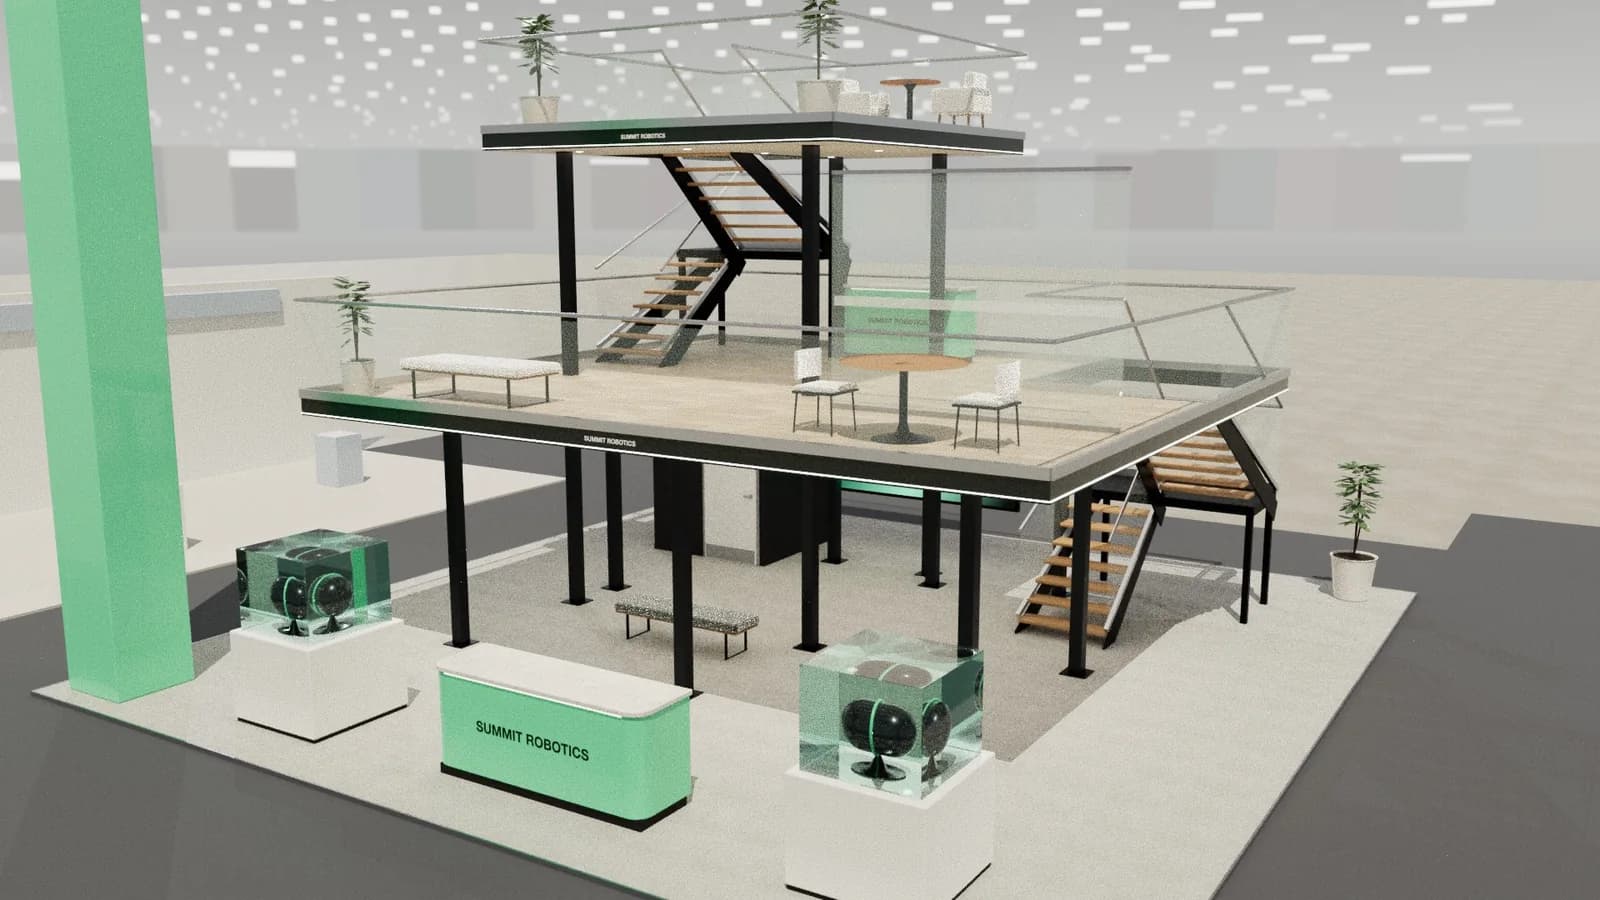
In short
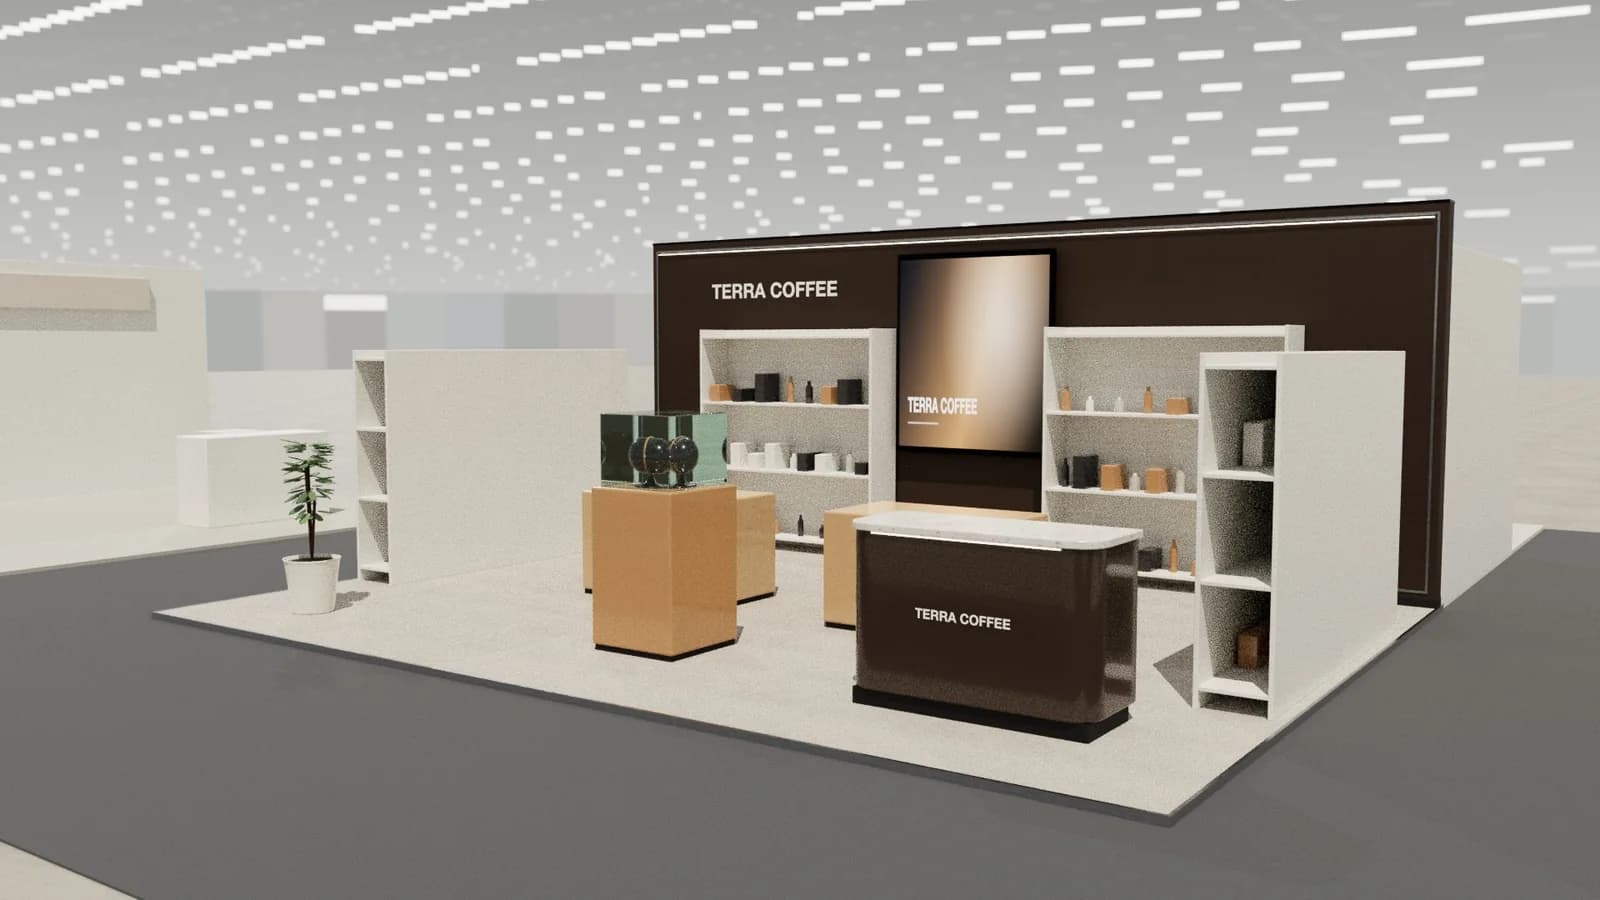
Good product display starts by choosing what not to show. Put one hero item where the aisle can see it, a small range within reach, and everything else on a screen or in a conversation. Keep key items between waist and eye height, light them from above and in front, and leave space for a person to stand next to each one. Decide what visitors may touch, because handling is what sells many products.
Key points
- One hero, a small range, the rest on a screen.
- Prime display height is between waist and eye level.
- Light products from above and slightly forward.
- Let people touch whatever you are selling on feel.
Build a hierarchy
| Level | What goes there | How it reads |
|---|---|---|
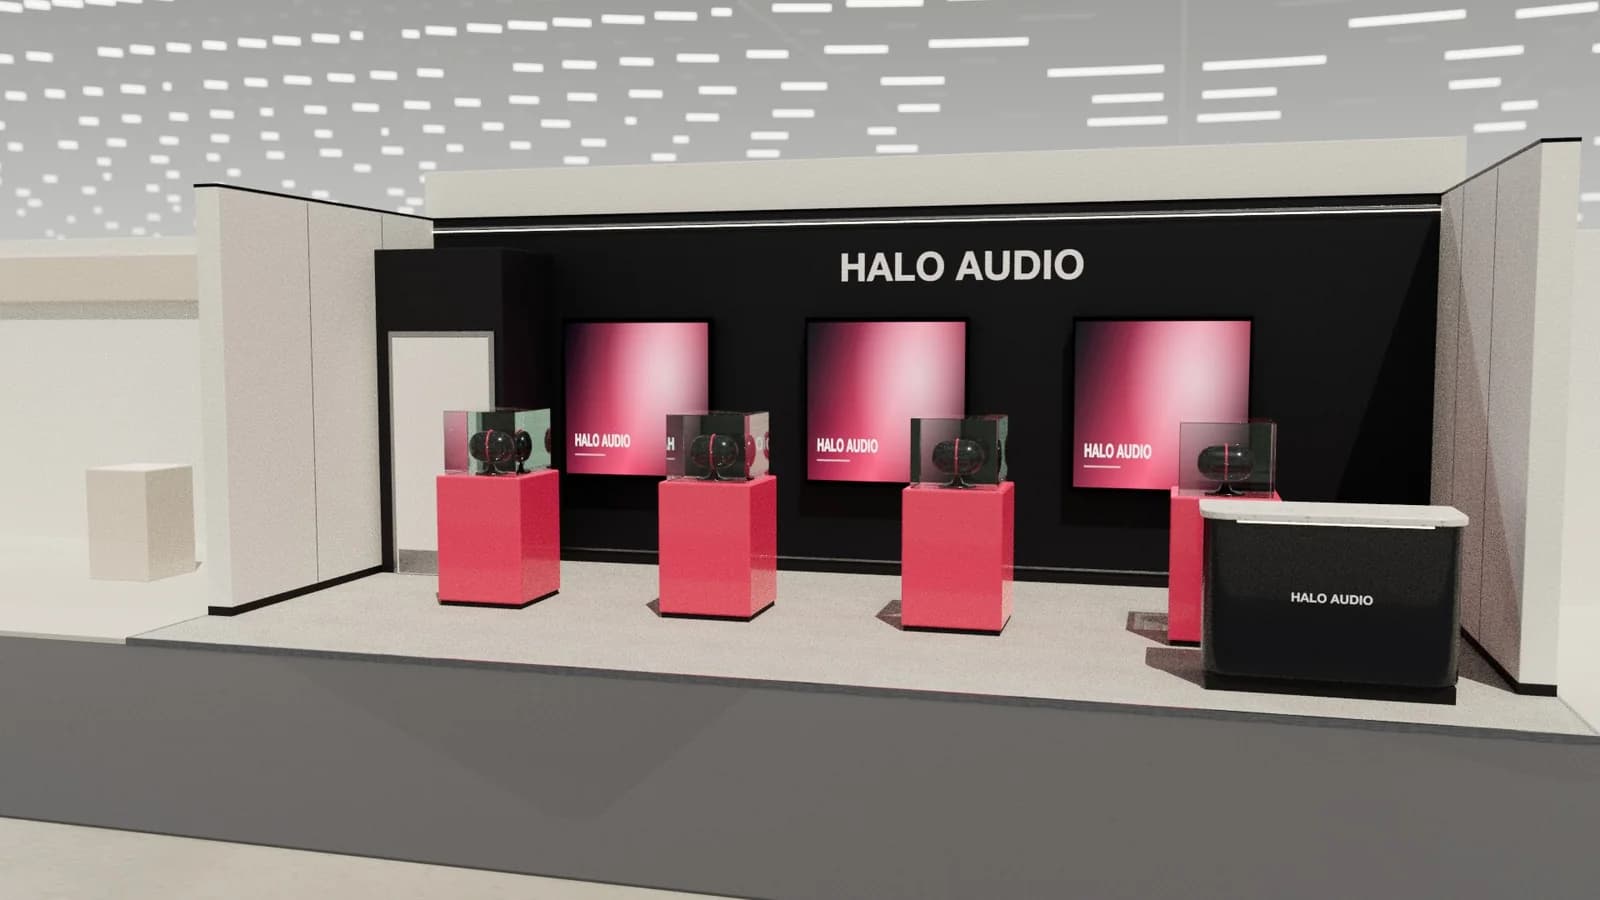
| Hero | One product, on a plinth or turntable | From the aisle, in about three seconds |
| Range | A few variants on a shelf or low table | From 2–3 m as visitors step in |
| Detail | A sample to touch, or a screen with data | Up close, with a member of staff |
Heights and spacing
- Key products go between about 0.9 m and 1.5 m, where people can see and reach them.
- A counter for working or testing suits about 0.9–1.1 m.
- Leave a clear space in front of each display for at least one person, plus a wheelchair user at key points.
- Do not place small items at floor level, where they can be missed or kicked.
Lighting products
Light from above and slightly in front, so shadows fall behind the object. Use high-CRI fittings, since a poor light makes food, skin and fabric look wrong. Shelf-edge LEDs can light rows evenly, while single spots turn one product into a hero. Read stand lighting for levels and beam angles.
Security and handling
- Glue or tether small items that are easy to pocket.
- Lock up valuable products at night, or remove them from the stand.
- Keep demo units separate from clean display units.
- Plan for restocking during opening hours without blocking the display.
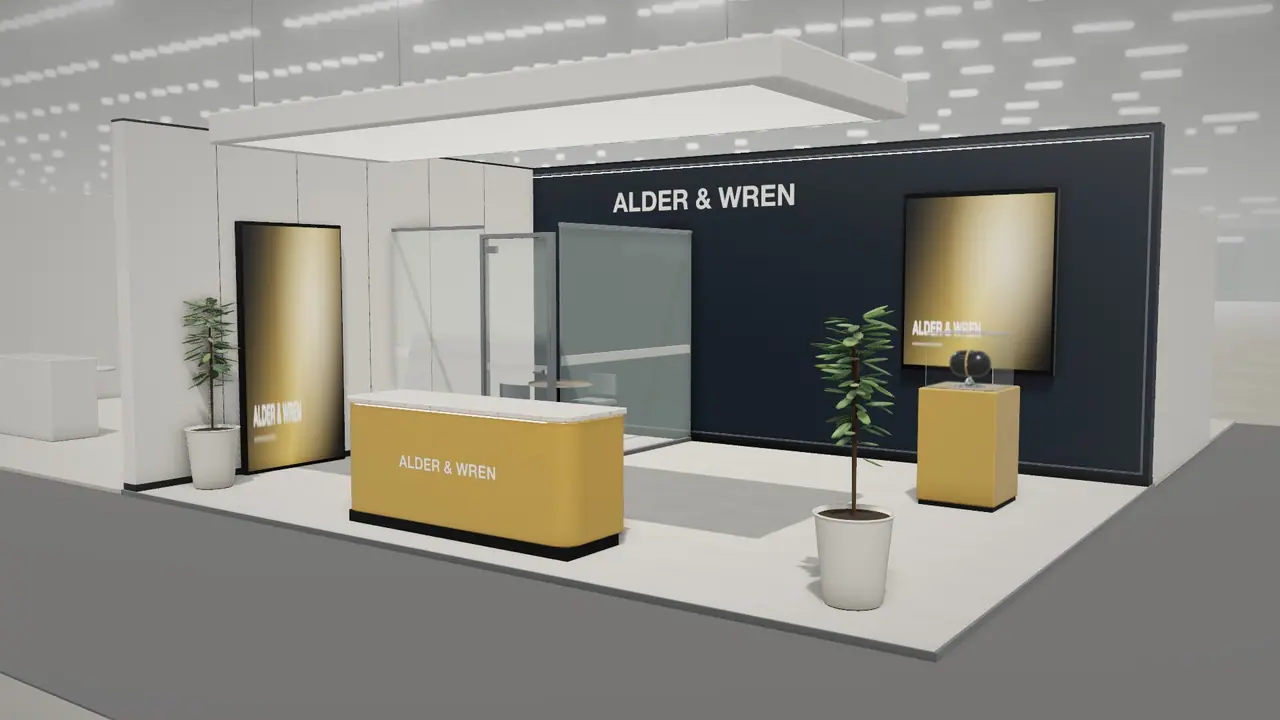
For high-value goods, a glass showcase keeps products safe yet visible. Heavy exhibits need a check on floor loads and a route into the hall.
Frequently asked questions
01How many products should I show on a stand?
Fewer than you think. Show one hero and a small range; carry the rest in a catalogue, on a screen or in conversation.
02What height should an exhibition plinth be?
About waist to chest height for most products, around 0.9–1.2 m. Use lower plinths for large objects, and vary heights to create rhythm.
03How should I display heavy machinery?
Side-on to the aisle, with its working side visible and a walk-around space. Check the floor load.
04How do I stop products being stolen?
Tether small items, use locked cases, and take valuables away overnight.
Put it into practice
Generate a 3D exhibition stand you can edit
Generate an editable 3D exhibition stand from your brief, refine the layout and export renders, CAD drawings and the model.
Guidance here reflects common practice. Venues, organisers and countries set their own rules: always check the exhibitor manual and work with a qualified stand builder and engineer for structures.